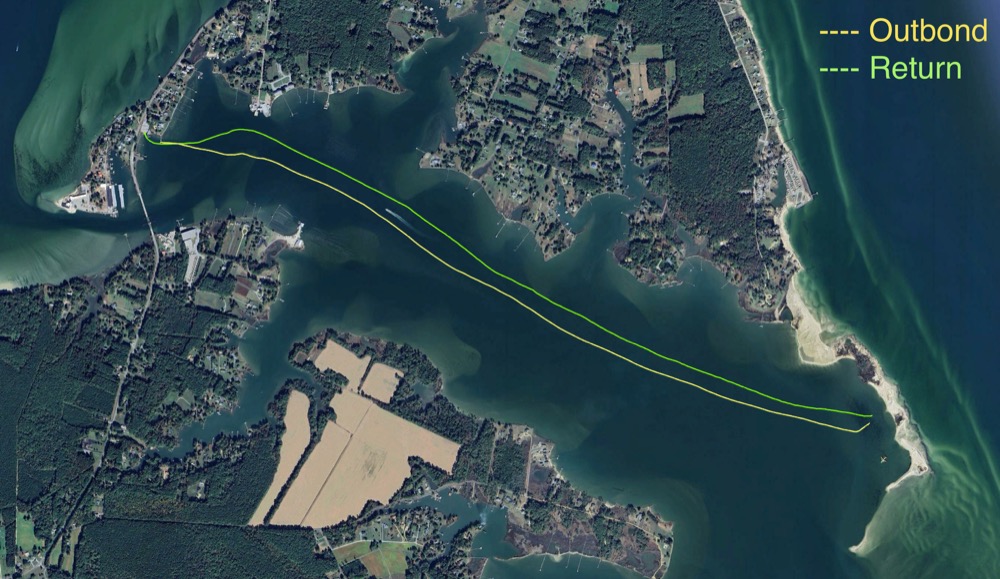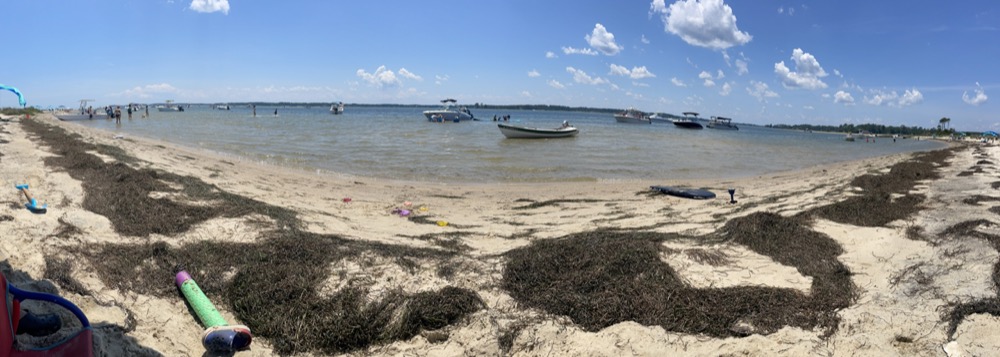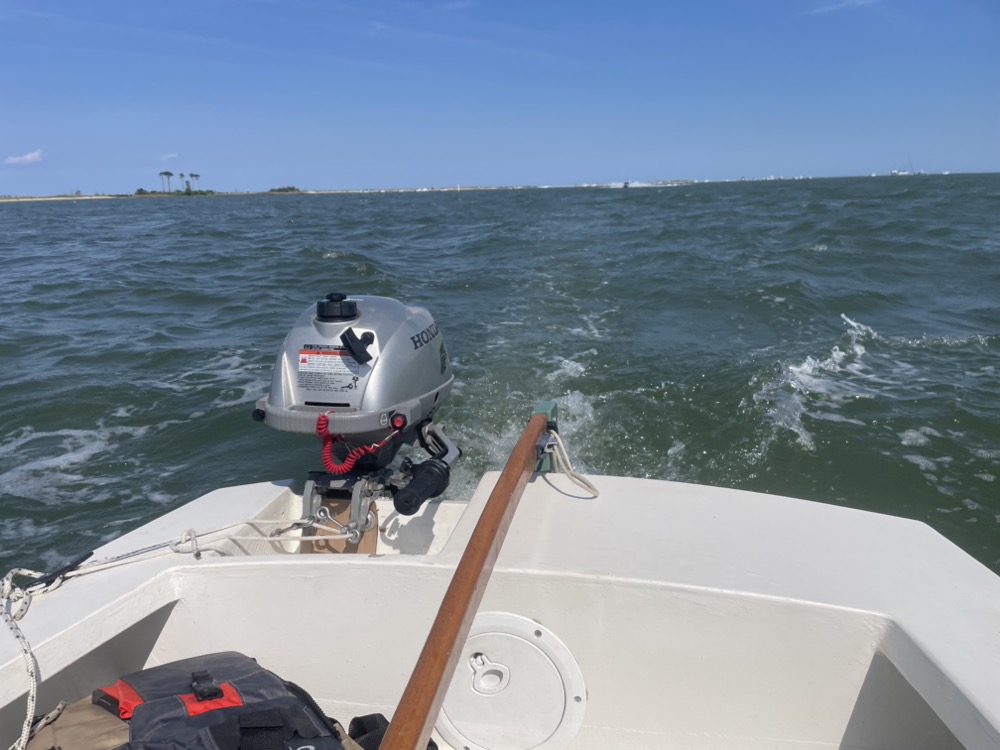

Friday evening I asked Henry what he wanted to do on Saturday and he said he wanted to go back to the sandbar. So Saturday morning we got the boat loaded up and headed back out there! I let him steer while we idled through the no wake zone which he enjoyed. He hasn’t quite figured out you need to move the tiller opposite of where you want to go, but we’re working on it! As we got closer to the island we saw a ton of kayakers and paddleboarders. I later found out it was an organized circumnavigation of the island.

We got out to the beach by 9:30am and had it all to ourselves so we took a walk to the point. I usually try to collect litter I come across, mostly because it doesn’t belong but partially so I don’t feel so bad if I accidentally lose something. This oyster struck on a beer can and washed up on shore and I was a little conflicted. Eventually I decided he was still alive since the shell wasn’t open, so I pitched him back into deeper water. Good luck little guy!

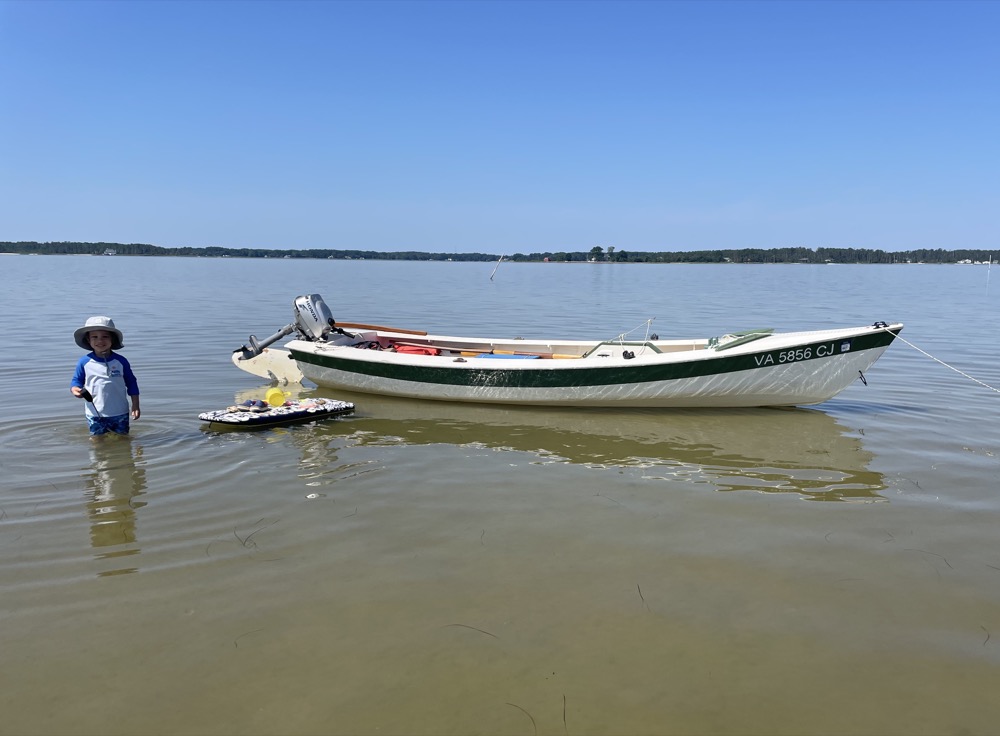
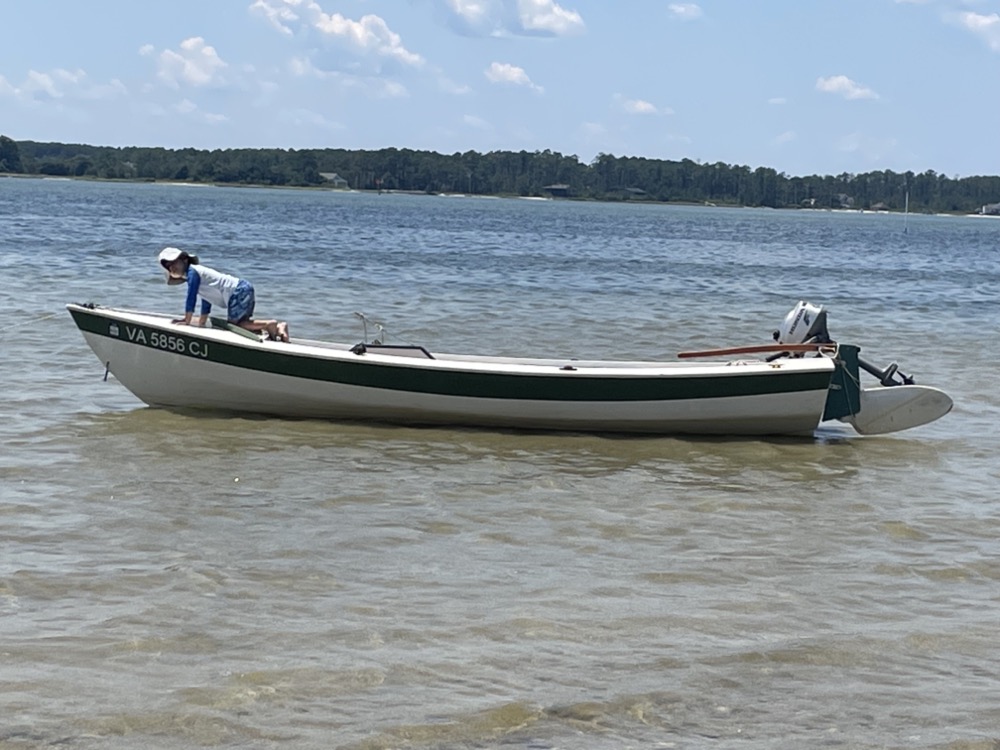
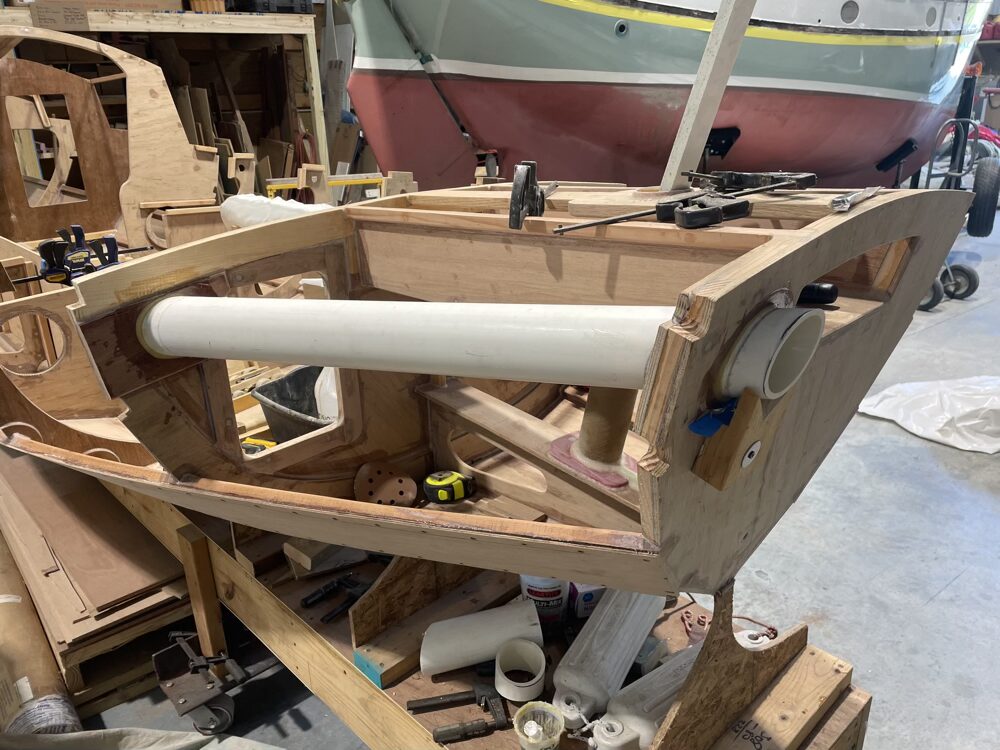
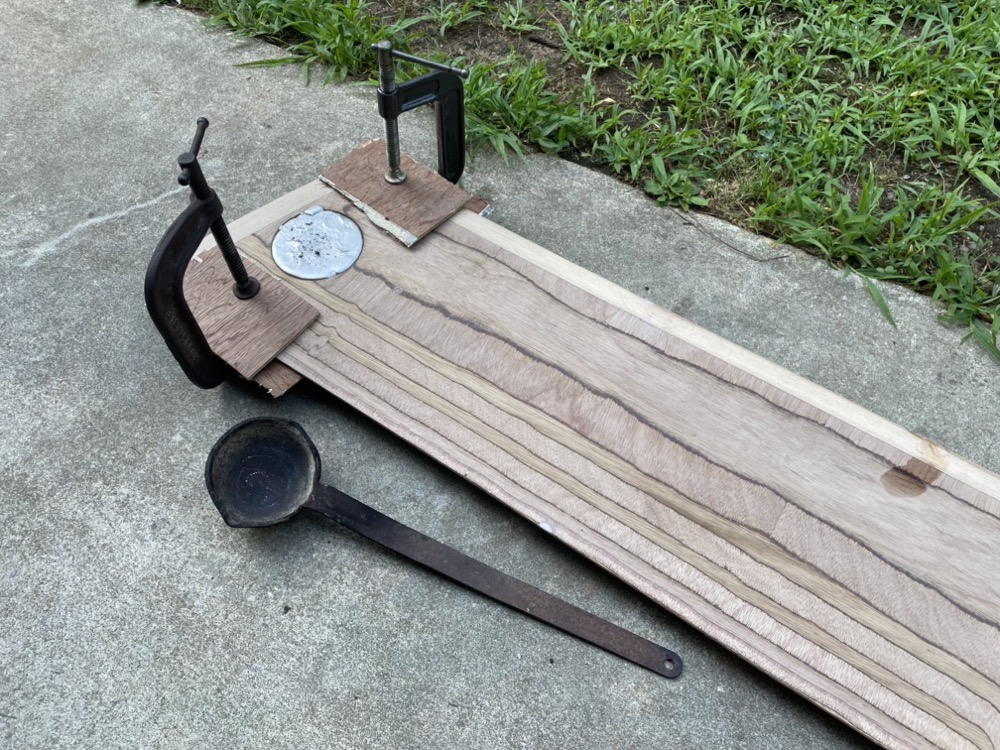
Henry is still towing his boogie board around and anchoring it with a plastic shovel. He was having a harder time getting into the boat since the water was deeper so I made him a rope ladder out of cedar driftwood I cut with my Leatherman. It kind of works, but the rungs want to go under the boat when he stands on them. Maybe I should make some sort of rigid ladder that hooks onto the inner deck carlin.

It wasn’t supposed to rain, but as the day went on I saw some dark clouds developing across the water. I really started to doubt the forecast when the far shoreline started disappearing. A small rain storm popped up and headed over to the island.

It rained pretty good for about 45 minutes.

Luckily there was no wind and our umbrella did a good job of keeping us dry. I pulled my boom tent out of the boat to wrap up our pile of beach gear. It was interesting watching other people hide under smaller umbrellas or under the bow of their boats. The rain made a really funny sound on the hard styrofoam of the boogie board.
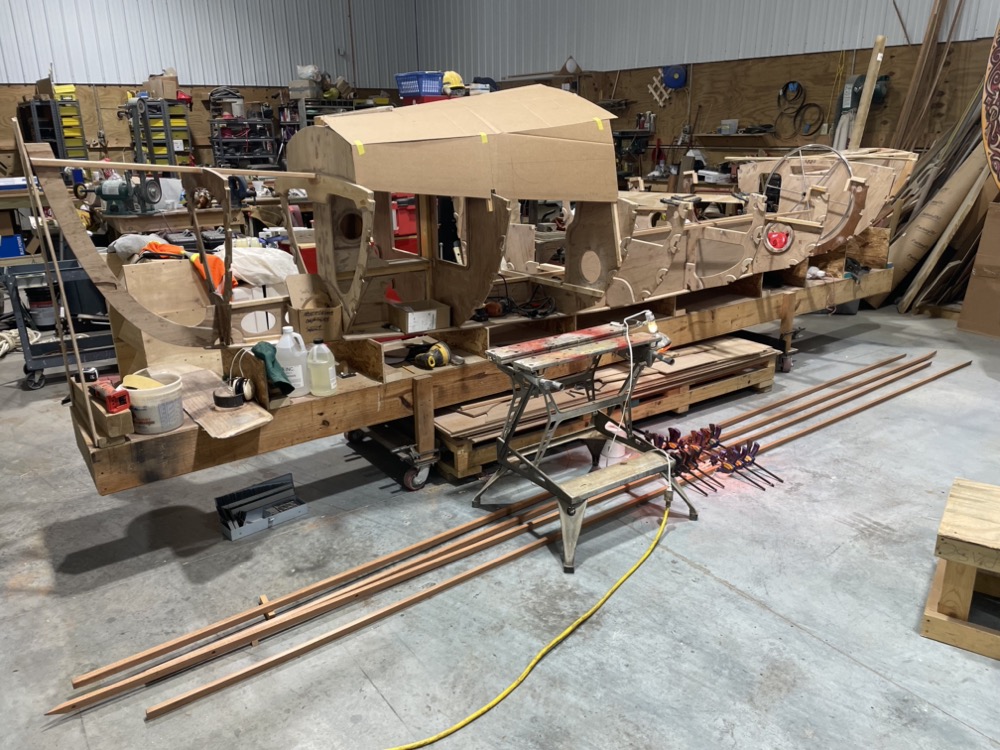
I managed to finish up Bernard Moitessier’s The Long Way that I started last week. I’ve got to say it went downhill quick after his decision to abandon the race and continue around to Tahiti. I had to skim through some of his philosophic ramblings and it was disappointing that it only took a handful of pages to cover 10,000+ miles. I did enjoy the appendix where he details what he carried and why and how his boat was rigged. All in all, probably worth reading if you come across a copy, but I wouldn’t rush out and buy one.
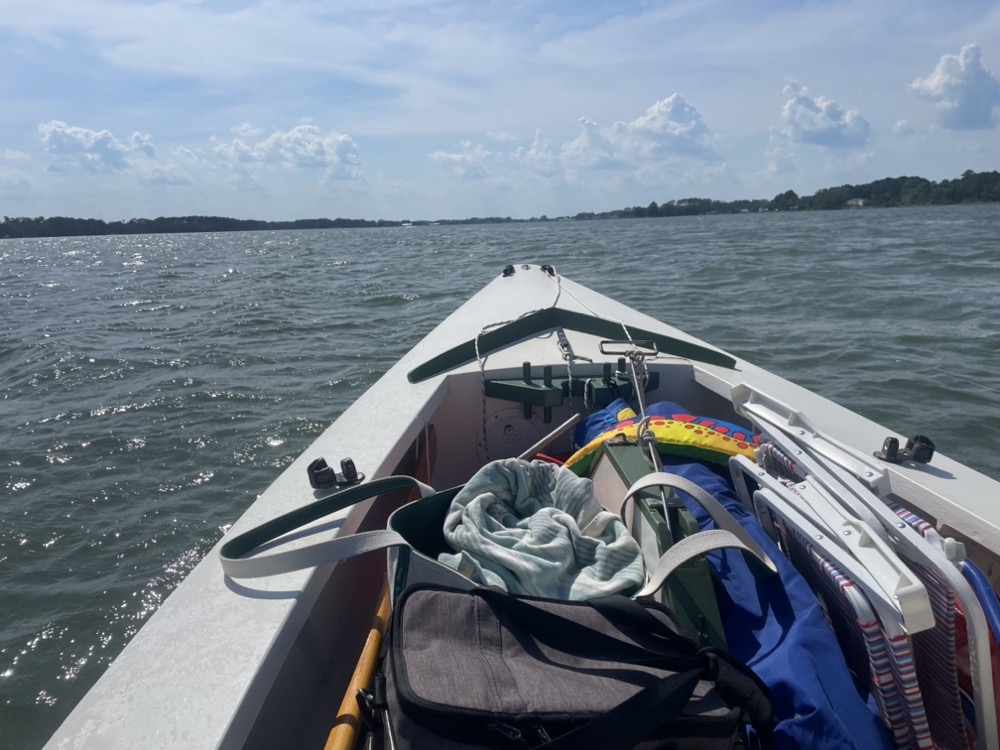
Eventually we decided to pack it up and head back. I later saw this video from a drone that must have been taken just as we left out of frame. I saw the paramotor fly down the beach and in the second clip you can make out the inflatable raft that was beside us.