Long Steps Build #4

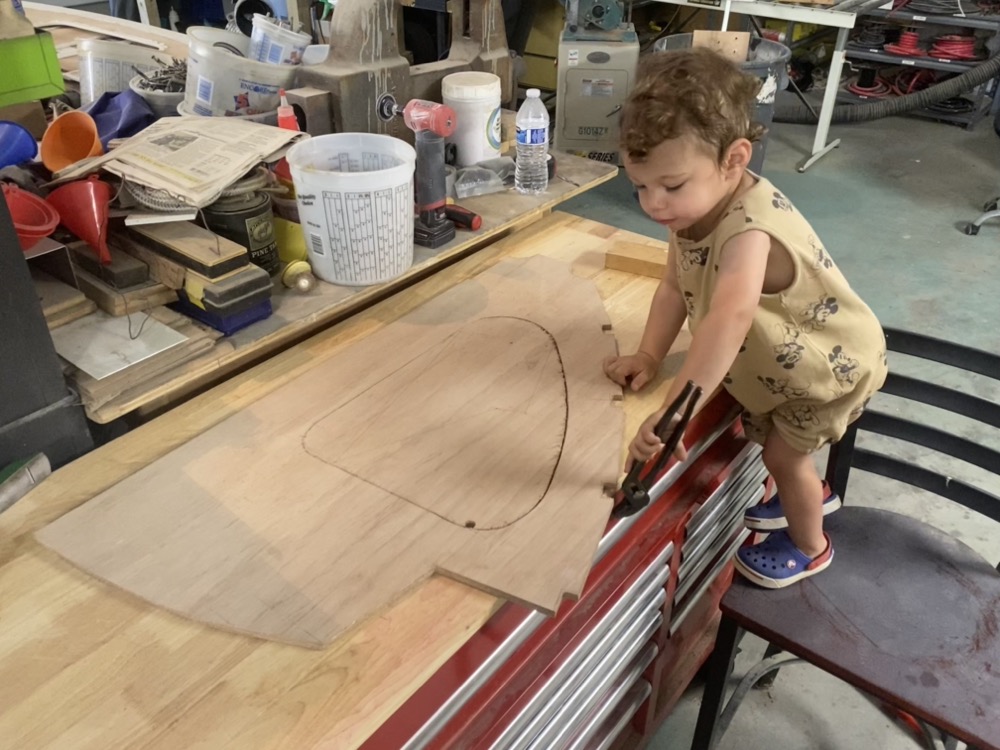
Slowly plugging away at more parts. My lunch hour consists of wolfing down a sandwich in about 10 minutes and then spending the rest of the time drawing or cutting out stuff. Later at home after supper I’ll often epoxy the parts together and work on the CAD drawings for the next day. Usually on the weekend I take my helper along to give my wife an afternoon to herself and he helps poke at the parts with some channel locks. Please excuse the pile-o-crap end of my coworker’s bench… I really need to put a wall up between it and my toolbox.

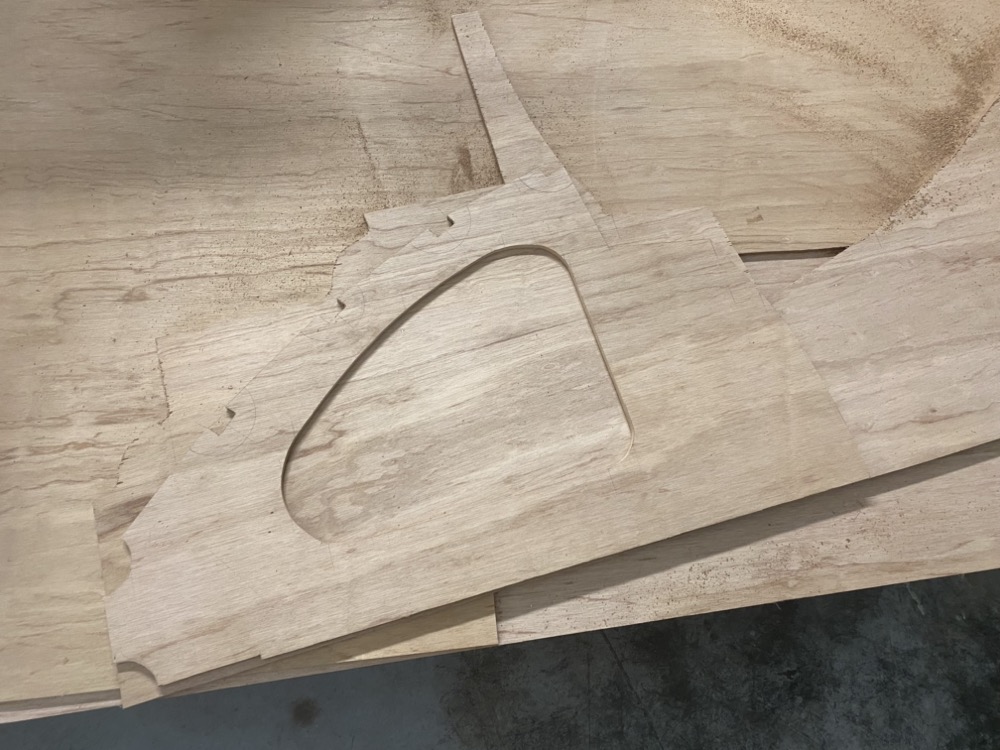
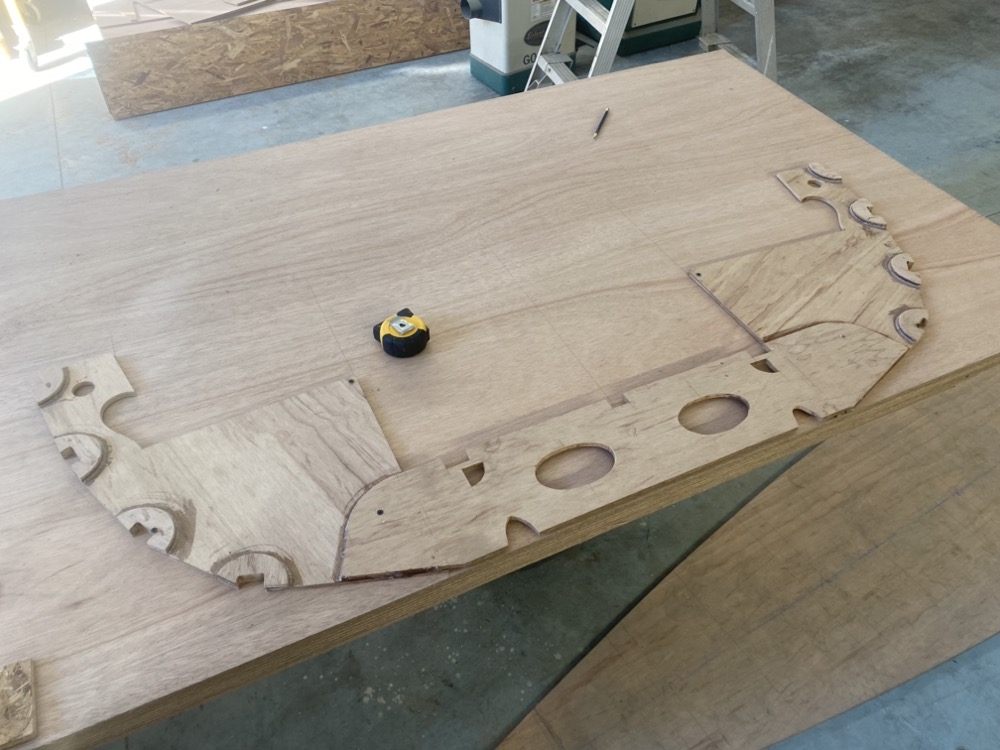
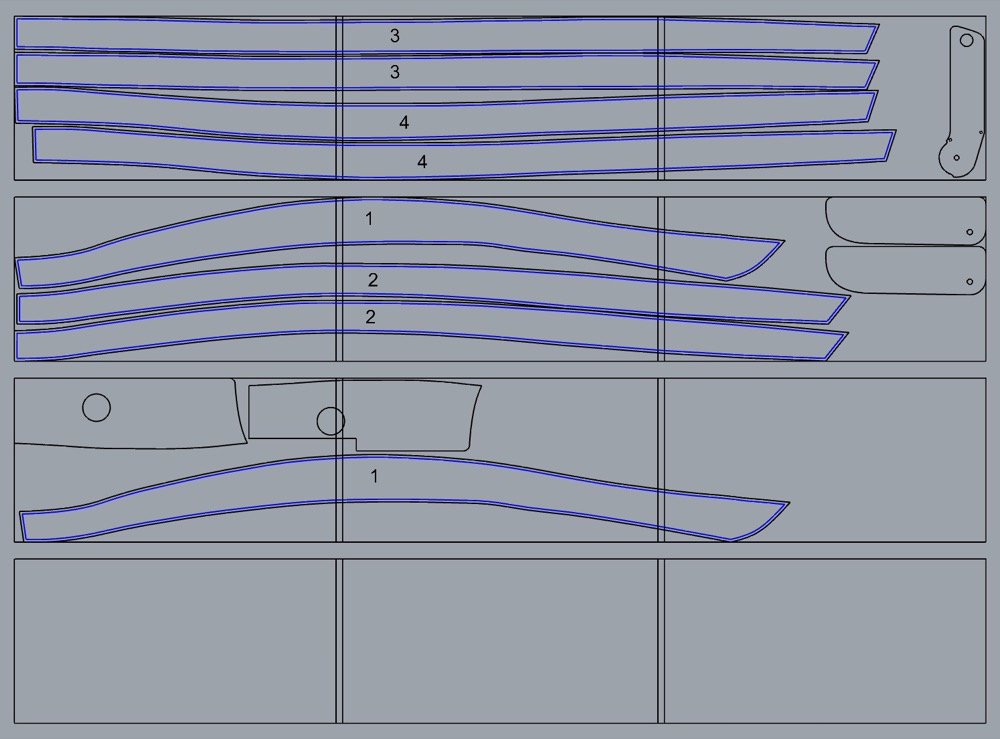
After cutting out the first half really accurately I lay it out on the last remaining bit of my sheet of ply. I’ll trace around it and cut it 1/4″ oversize, then screw the two pieces together and do the final trimming with a router and flush trim bit. I’ve been really pleased with how my CAD drawing and nesting the parts has worked out.

Two of the bulkheads aren’t symmetrical due to the offcenterboard, so I used the smaller side as a router template and drew in the missing part. Easy enough to bandsaw and plane that to size.

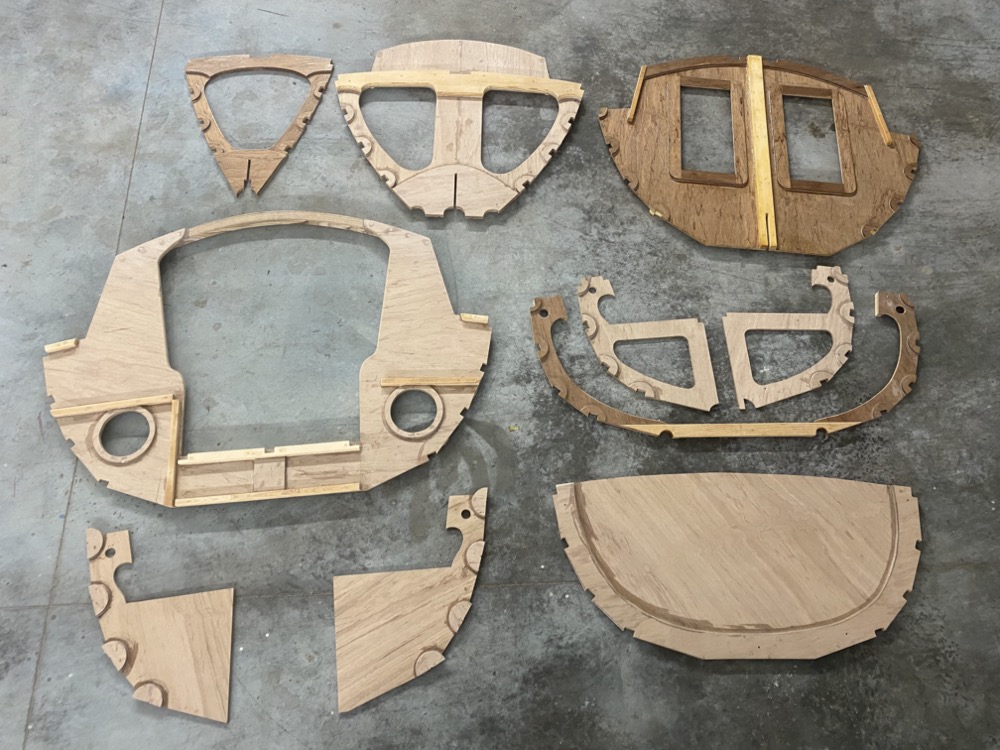
Here’s 8 of the 10 bulkheads in various stages of completion. On one hand it really bugs me that nothing is complete, but then again there’s always something I can use that last little bit of thickened epoxy on. I guess everything will get done at about the same time.

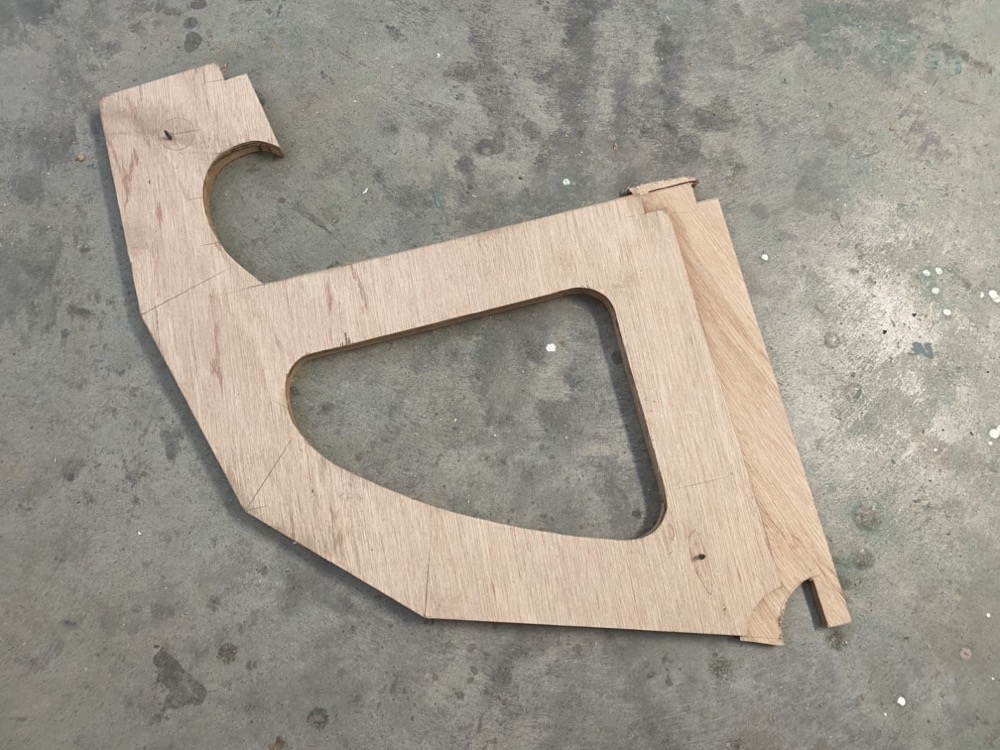
A few of the bulkheads are in two parts with asymmetrical sides so I found it easiest to mark a centerline and screw the parts to a sheet of ply with a few carefully measured reference points.

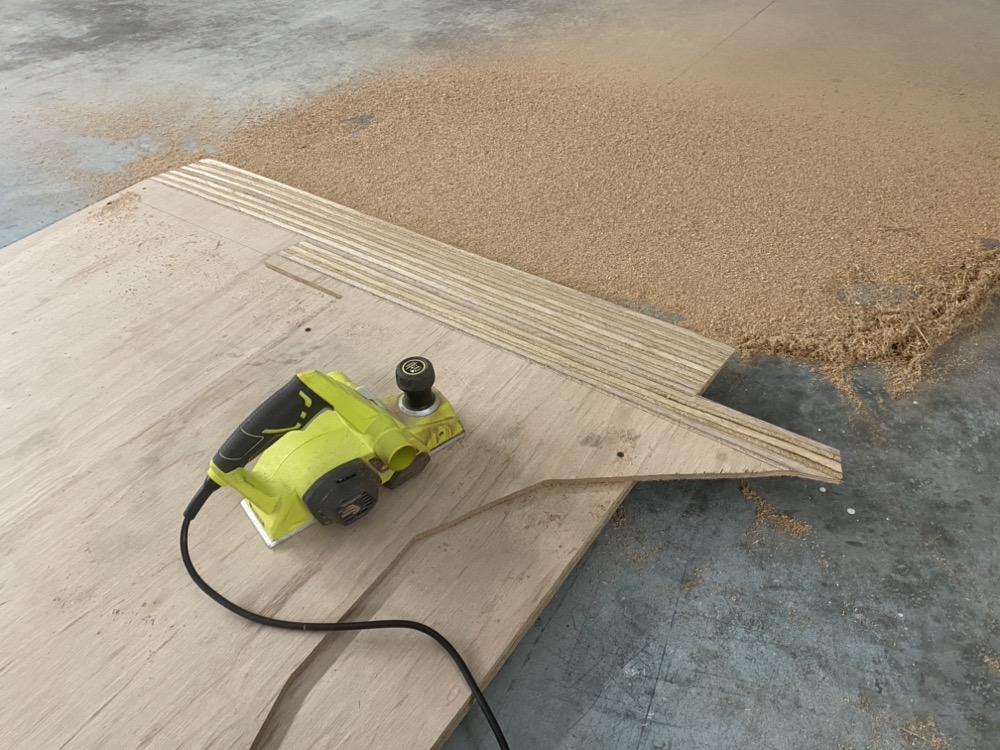
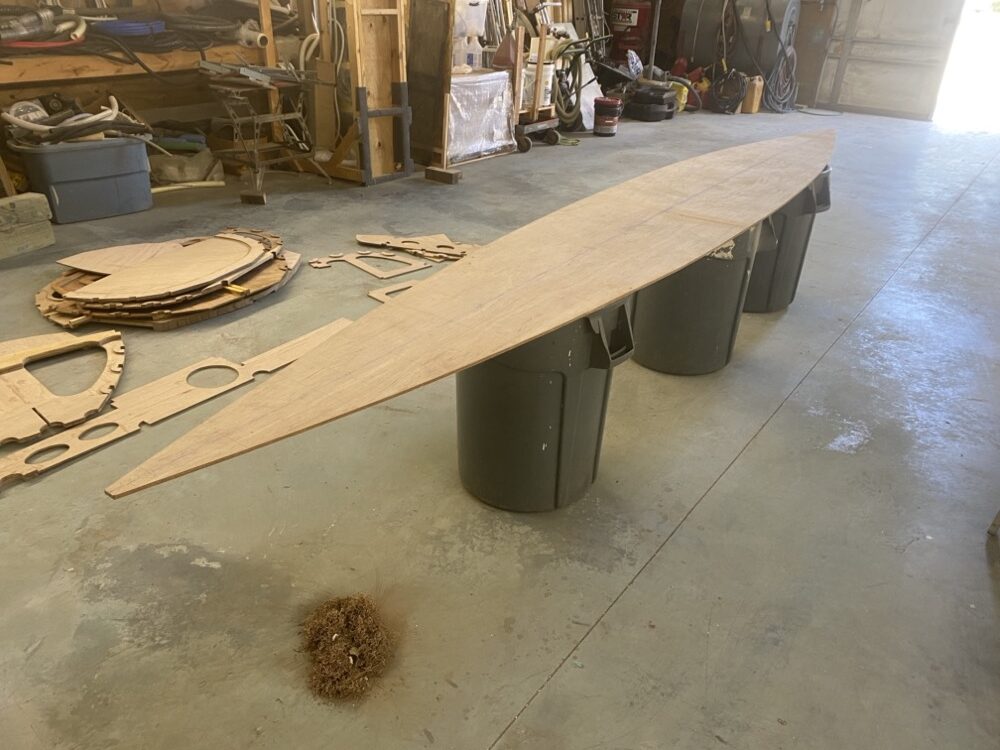
My wife and son are out of town for a week visiting family, so I’ve been staying at work till 9pm and making a lot of headway. I’ve finally got all the 3/8″ parts cut out so it was time to scarf the leftovers for the bottom panel. I’m doing an 8 to 1 scarf, so just draw a line 72mm back from the edge, screw the stack of wood together, and start planing until you end up with a slope from the line down to a feather edge. I gave this router the full Lou treatment and it is a real joy to use. https://youtu.be/_a1HCqK5i-A

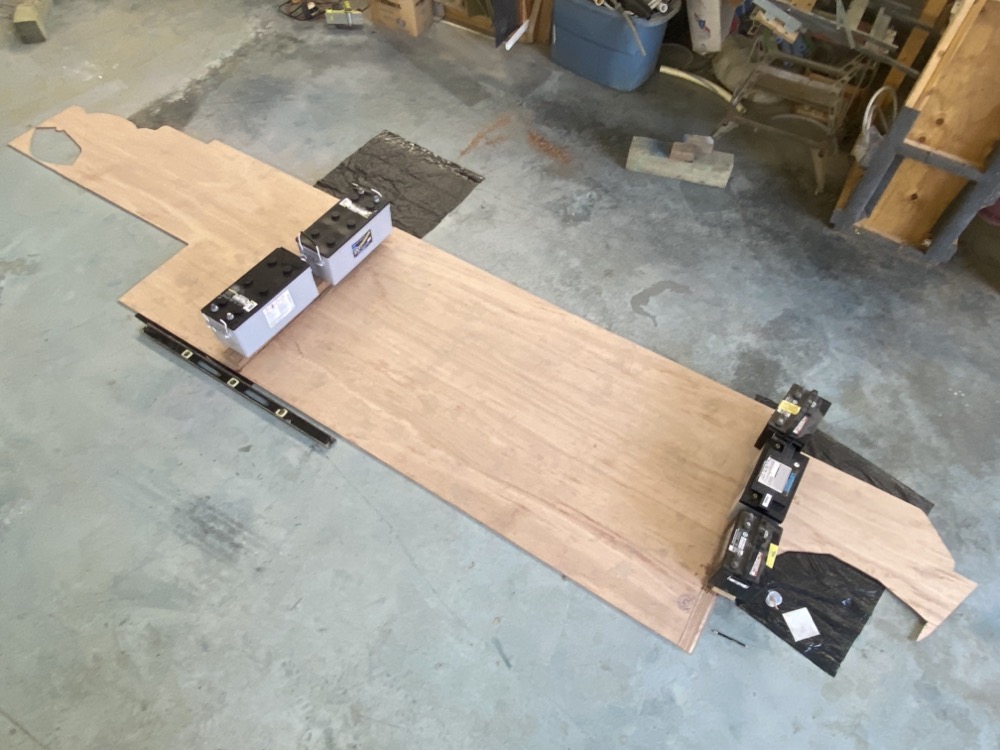
Next I epoxied the sheets together and used some old batteries and 2x4s to concentrate the weight right on the scarf. The bottom panel will run from between the cut out parts on the left, through the full sheet, and halfway into the section on the right. One side of the centerboard case will come out of the bottom along with two layers of rudder.

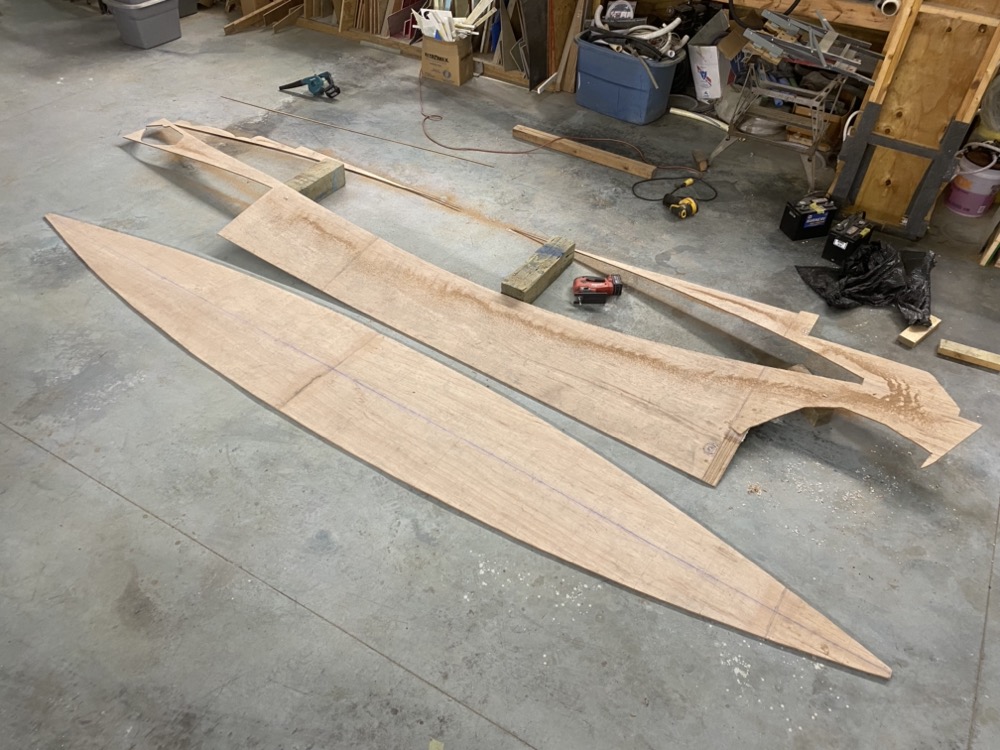
After the epoxy cured I struck a centerline and laid out the bulkhead locations and points for a batten to define the edge. The scarfs came out pretty good and a light sanding got them pretty flat. I’ll get the centerboard case and two rudder blanks out of the section that’s left.

Next I took the edge down to the line with a little plane.

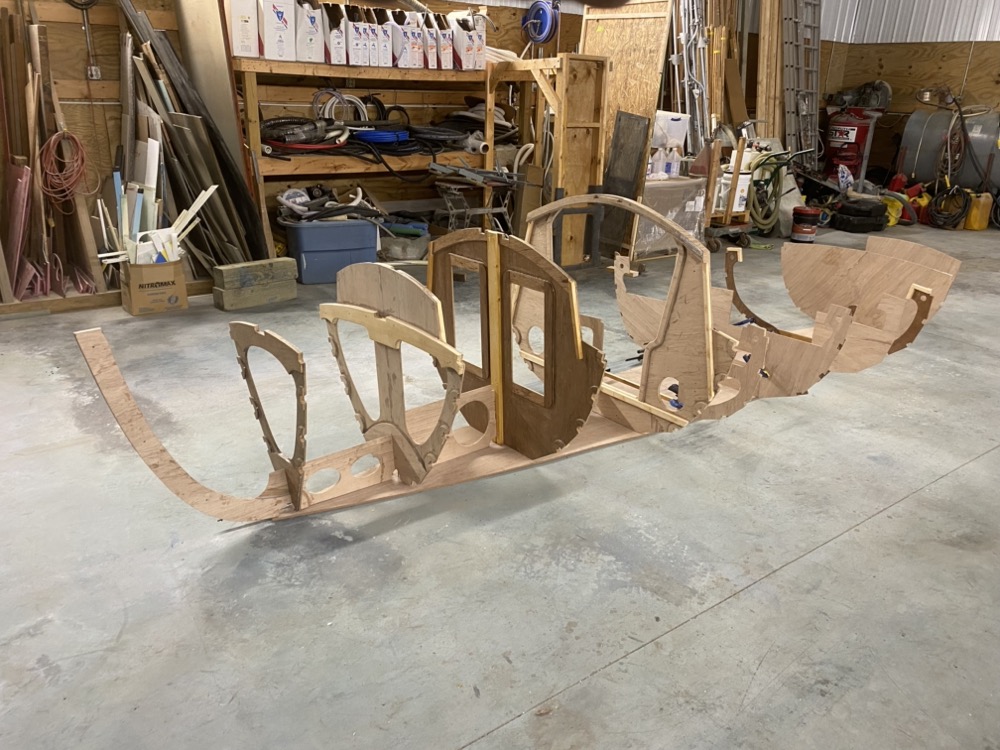
I set up all the frames on the bottom panel and finally got a look at the size which is both bigger and smaller than I imagined. It’s been a little difficult to get a sense of scale working with just a CAD model and metric dimensions. It’s bigger in the sense that while it’s only half a sheet of plywood longer than my First Mate, there’s way more storage space and I’m really going to enjoy the open center aisle for sleeping. It’s also smaller in that it feels like a totally doable project. When I was cutting out endless bulkheads and looking at my giant stack of plywood I really began wondering if I’d bitten off more than I could chew. I’m still quite a ways away from setting up a strong back since I need to get the bulkheads complete, but it was nice to stand there holding an imaginary tiller and thinking about going on adventures next year.

Try as I may there’s just no way to get all eight planks out of six sheets of plywood without doing a bunch of crazy angled scarfs. While I was in the scarfing mode I decided to get nine sheets ready for whenever I get to planking.

I set each sheet back 50mm from the edge and screwed them together in countersunk holes.

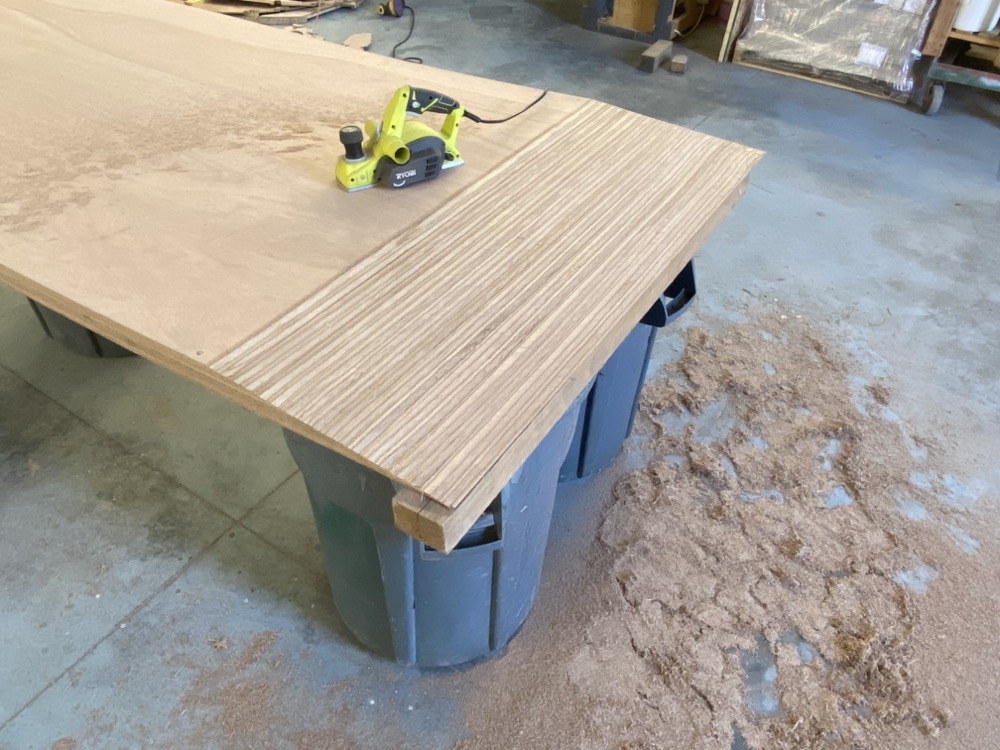
It took about 20 minutes to knock the corners off. I still need to do some hand planing I think up at the top, but it’s pretty good.


Long Steps Build #3

A lot of the bulkheads have doublers where the stringers pass through to give you some more meat to screw into. So I cut out a bunch of circles with a 4″ hole saw and split them down the middle with the bandsaw. It’s been good way to use up the odd shaped offcuts. Then I epoxied them on with a single screw through where the notch gets cut out.

Cutting 70 some odd notches sounds tedious to do by hand and a good way for errors to creep in so I made a jig for a router. I first draw a line perpendicular to the lower strake right at the corner, then align my jig and mark out the notch. I score the line and jigsaw out the waste so there’s less to cut with the router and then clamp down the jig.

My little trim router does pretty well with a 1/4″ bit. When I first made the jig it cut a little deep so I glued a strip of paint stirrer along the fence and redid the notch.

Farther aft the plank angles are more extreme and the jig really sticks out a lot.

Lately I’ve been putting some of the bulkheads together. I’ve got numbers 1 and 3 just about done while I’m still working on number 8. I drew a centerline on a sheet of plywood and screwed the ribs to it so I could glue on a piece of hardwood. I’m happy to see that the gunnel ended up being less than 1/16″ off of where the plans say it should be. I also tried routing a groove in the access panel for a surgical tubing seal but my jig slipped and I wasn’t happy with how it turned out. So I filled it with thickened epoxy and I’ll try again after making a better jig.

This is the “complanionway” into the little cuddy cabin. The deck beam is laminated from four pieces of 3/8″ ply and I had about 1/2″ of springback after it was glued up and out of the jig. That’s a little more than I expected, so I’m thinking I’ll laminate on another strip and saw it to shape. The missing cleats on the starboard side of the bulkhead is where the off centerboard trunk will go and you can also see the self draining floor with what will become the end of the water ballast tank.

Long Steps Build #2

This week I finished cutting out the third sheet of 3/8″. Scoring the lines with a knife before jigsawing does stop the splintering, but that quickly got old. I’ve started cutting out the parts within 3/8″ or so of the line with a jigsaw, then doing a more precision job at the bandsaw. I’ve had really minimal splintering that way and I can get it accurate enough that just a few swipes with a plane takes things down to the line. I also had time to epoxy the two stiffeners on either side of the stem.

If there are a pair of parts I only draw one and cut that out as accurately as I can. Then I use it as a pattern for the other side and jigsaw that out. A few temporary screws holds the two together so I can run it through my router with a follower bearing. This has worked really well and is an easy way to get things symmetrical.

Like a lot of boatyards, there’s an abandoned Fuji 35 in the corner slowly rotting away. I’m trying to keep costs to a minimum so the boss let me salvage anything off of it I could.

So far I’ve got some 14″, 10″, 6″, and 4″ cleats. Three fairleads, assorted blocks, a tether, and some bronze. I’m toying with the idea of casting a few things for my boat… I’ve wanted to give that a try for a while. Not sure what I’ll do with those big cleats though. Maybe mount one to the mast for the flag halyard?

Long Steps Build #1

I guess it’s official, I’m starting a new build! In 2019 I launched my Ross Lillistone First Mate and I’ve put a bit over 600 miles on her. It’s a great boat, especially single handing or for a pair who know how to sail but lately I think my use case has changed and I want something different. After a ton of research I settled on John Welsford’s Long Steps and in December 2022 I bought the plans. It was a little unnerving since I could only find one or two that had been launched, but I figured if this is what John was designing for himself to circumnavigate the north island of New Zealand it should be good enough for what I have in mind.

Here’s the size difference between my 15′ First Mate and the 19′ Long Steps. I really want to do more camping and Long Steps will be a lot easier to get set up. The open cockpit will be simpler to sleep in and I’m excited to try out the benefits of the mizzen. Last summer I motored out to a sandbar quite a bit with my wife and son and some more room would be nice.

Unloading 21 sheets of Hydrotek plywood. Of course it had to come right as we were getting ready to fiberglass up an old through hull on a boat, hence the gloves. My plan is to build this thing on my lunch hour.

Over the last year I’ve been slowly converting the hand drawn plans to CAD. I then ran the drawings through nesting software and let my computer crunch on it for half a day. It got me a little closer, but it was still better in the end to do it by eye. There’s just so many pieces and I found it easier to use the software on the big ones and then squeeze in everything else. If all goes well I hope to save 1.5 sheets of 3/8″ ply!

A benefit to 3d modeling everything is that I can add the stiffeners to the bulkheads and get a good idea of how things are supposed to fit together. Better to get this figured out digitally than to try figuring it out with a cup of epoxy in hand.

I started with the easiest sheet first and plotted out all the points with a T square made from the shipping crate (the rest will become the strongback). I later sharpied lines every 100mm on the blade to help me gauge where to put the mark. This is my first project in metric and there’s been a bit of a learning curve since I have no feel for how long anything is.

Eventually I got six parts jigsawed out and planed down to the line. I knew meranti was supposed to be pretty splintery and it certainly is with the jigsaw set in orbit mode. Changing to a straight cut helped, but I eventually found cutting downhill to the grain worked the best. Sometimes I plunge cut in the middle of a part to get a more favorable angle.