
My wife and son went up to her folks for Memorial Day weekend and are staying for a summer camp afterward. So that means a ton of free time and I was really conflicted between boat building or trying to go on a multi day cruise in my First Mate. I don’t think I went sailing at all last year but I also really want to get Long Steps finished. In the end the weather made the decision for me by dumping nearly 3″ of rain on us.
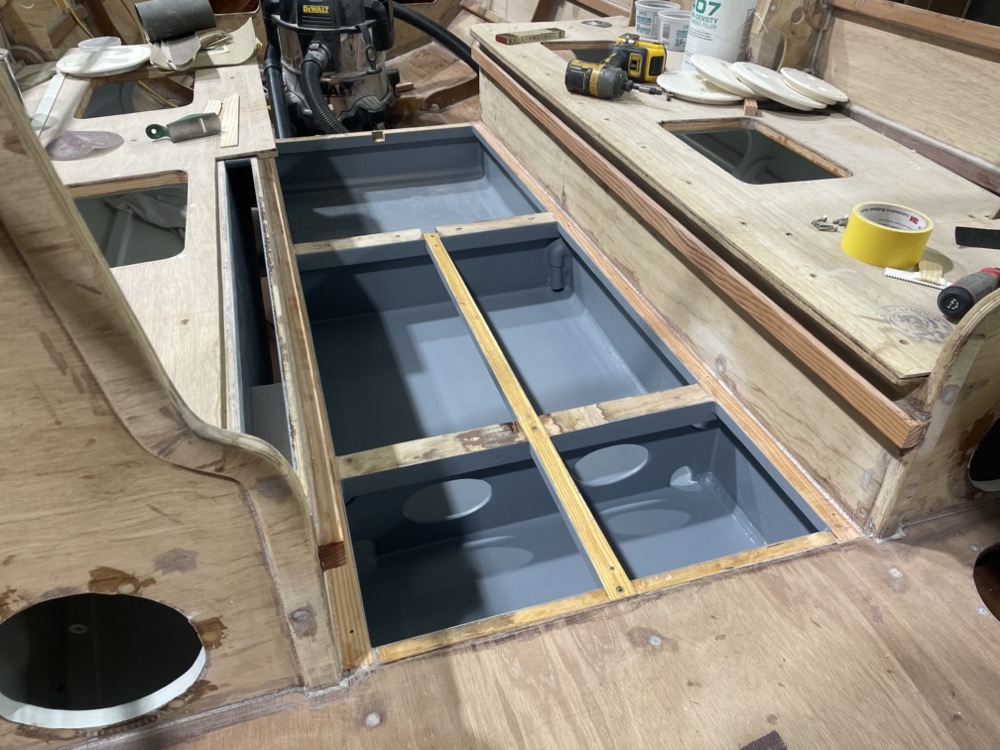
I started by finishing off the water ballast tank with Pettit Protect. I applied the first coat to tacky epoxy and it can be reapplied to itself up to 60 days later without sanding. It really reduces labor. In the back corner is a PVC drop tube that goes through the seat front and over to the pump system. There will also be a drain plug nearby in the future that I’ll install through an inspection hatch. I figure the pump will get rid of the majority of the water and the drain plug can get the rest. It’ll be offset so I can put one wheel of the trailer on a 2x to move the water to the corner.
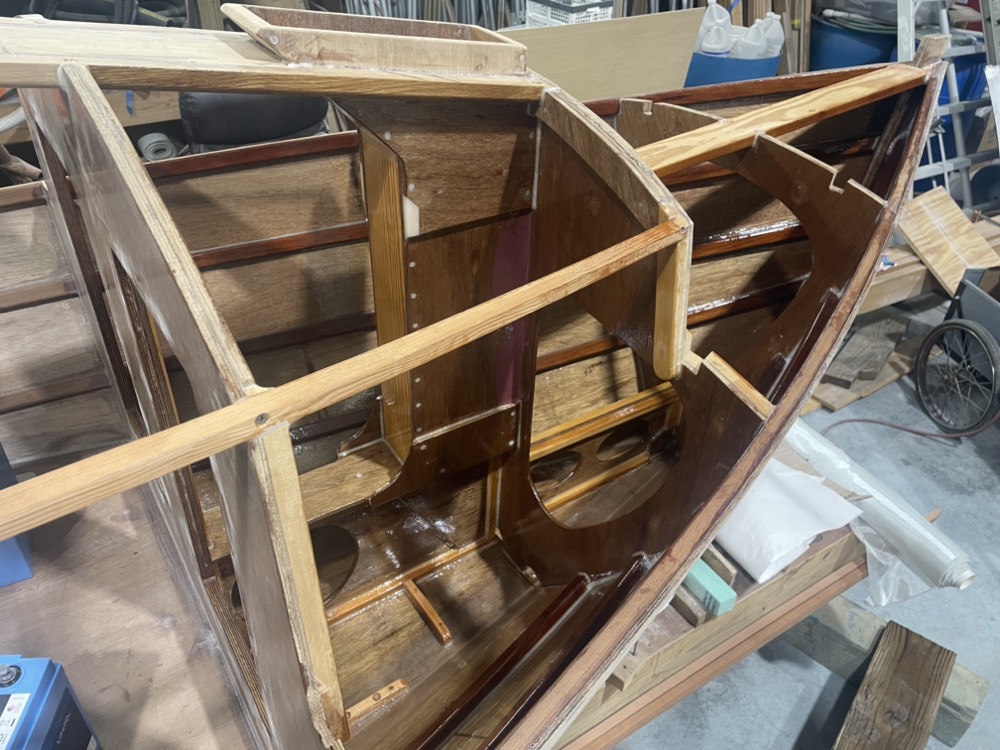
Next I glued the ballast tank lid down. I’m going to keep the next section of flooring removable for a footwell since it really helps with ergonomics. I feel like it needs limber holes but I haven’t quite figured out what I want to do yet. Water in the open area will want to drain forward into the footwell, but when I’m heeled over I think it’ll get trapped on both sides of the bulkhead.
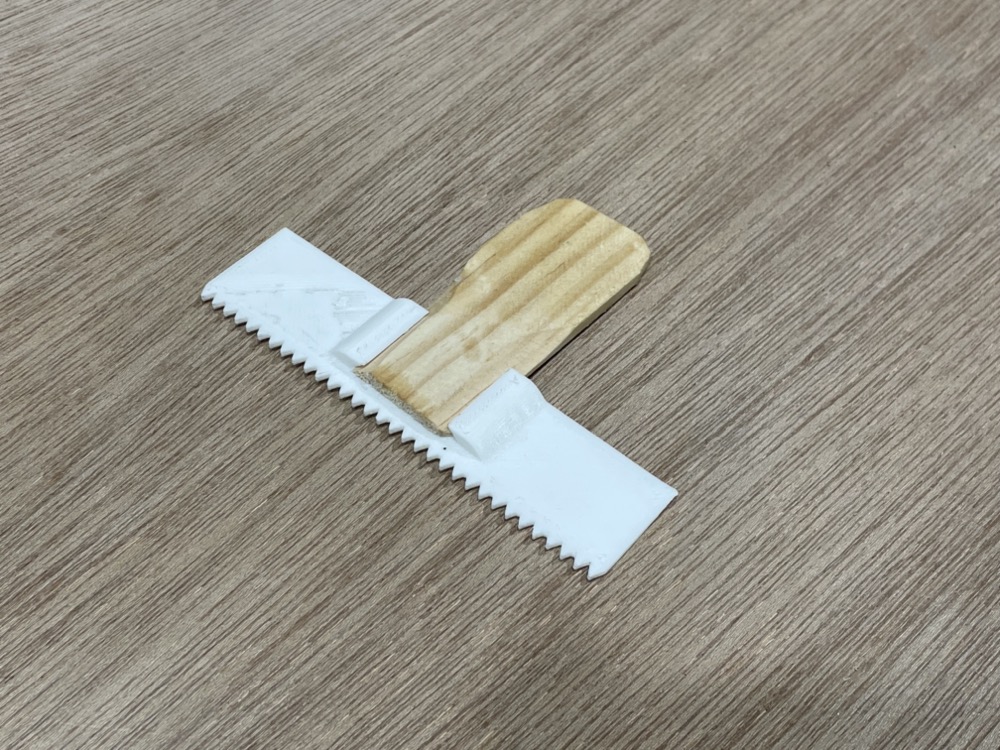
On big glue ups I like those 809 West System notched spreaders. However I don’t like paying for them so I designed my own and printed out a bunch with my 3d printer. 7 cents a pop! It has a female dovetail that takes a whittled down paint stirrer stick. I can extend the reach if I need to with a longer paint stick and the narrow sides lets me get into corners or under obstructions easily.
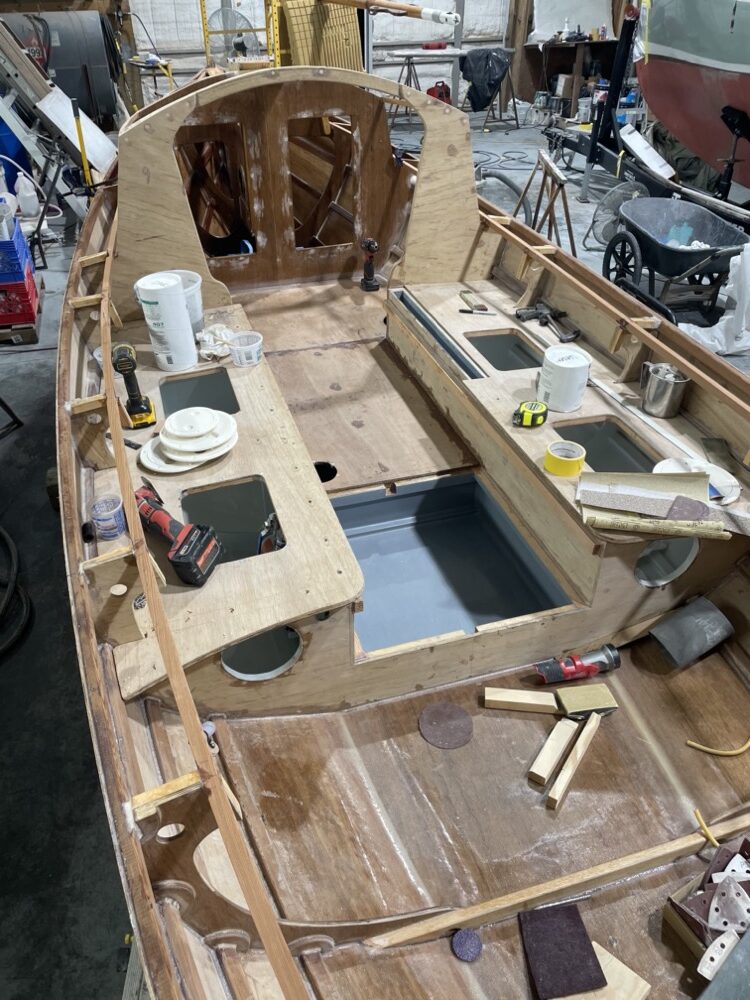
Well it’s finally time to pay for getting the planks installed before finishing the inside. In my defense, that was when I had another large block of time that seemed better suited to time consuming parts of the build. Anyway, somehow I got three coats of epoxy on without getting glued in. There’s some unnecessary fairing in places because it was leftover from other jobs and I originally planned to paint in here. Then I decided since there’s no UV why not just tint epoxy white to brighten it up? Then I decided to lower the bar even more and skip the tint.
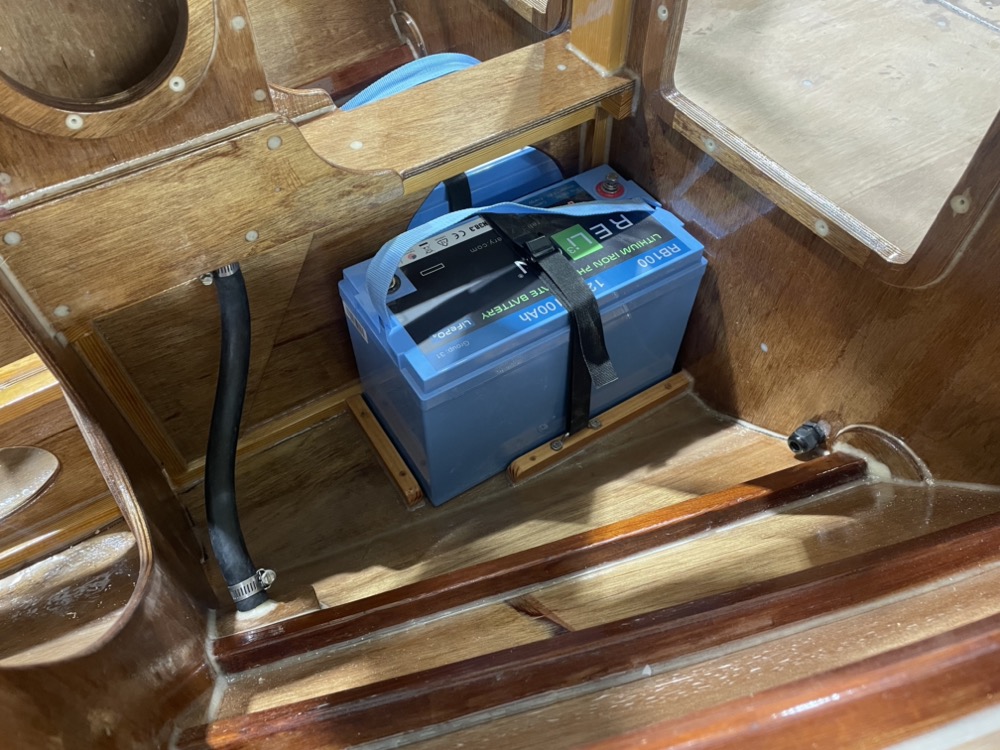
One of our customers must have something wrong with his electrical system since he goes through batteries just about every year. Anyway, a few weeks ago I saw him dumping off three 100Ah LiFePo4 batteries on our dead battery pallet. Two tested 13.3v and the other 0.3v and needless to say they pretty quickly found their way into my boat. I charged up the two good ones, glued some cleats to the hull, strapped them down and eventually they’ll be my 24v system. These things are like $900 new! I also ran a hose for the mast box drain and there’s a cable gland that leads back to the pump system. I haven’t quite figured out where all the electrical stuff is going to live, but it’s becoming more clear as I add stuff.
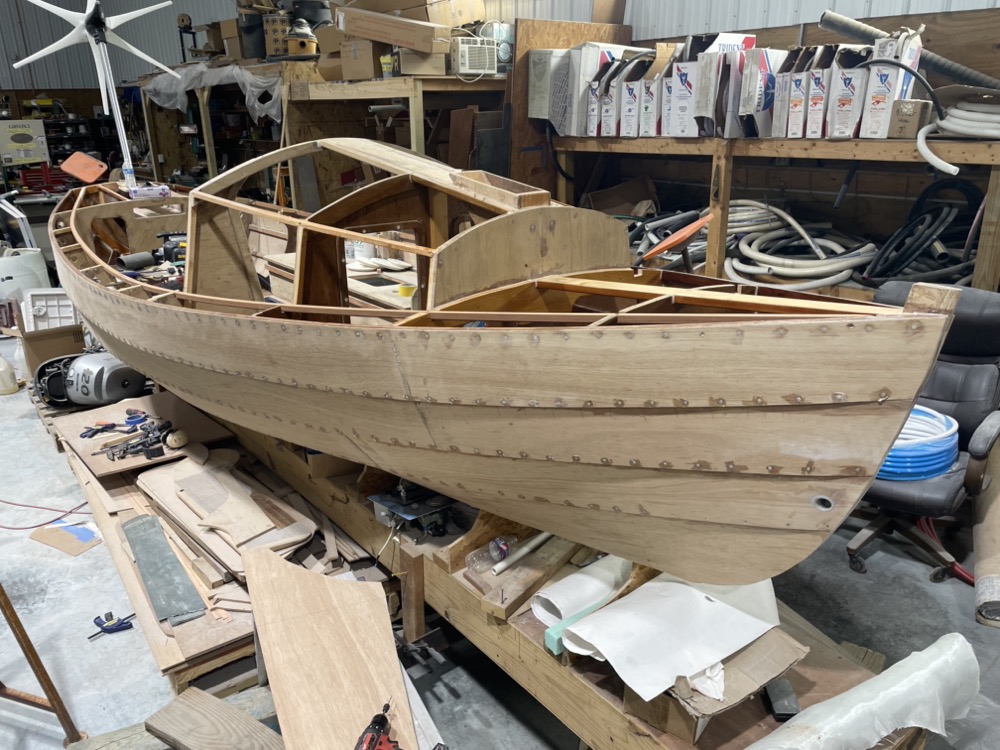
And here’s the latest progress. I’ve installed the deck carlins and started on deck/cabin/roof blanks. I think I’ll dry fit, coat the underside, and store them until I need them.
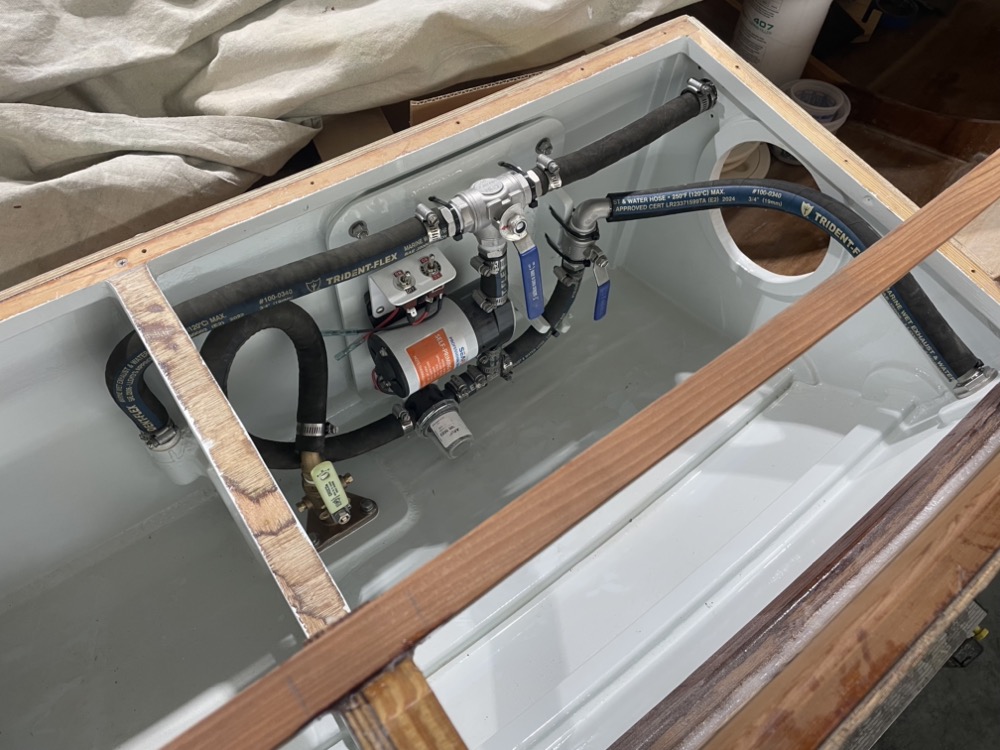
I got the pump setup installed and the hoses run or dry fit. I went with a 3/4″ Groco flange valve. Typically at work we install Apollo valves and I do think they’re higher quality. But I figure since the boat will live on a trailer 95% of the time and I’m going to flush the plumbing system out after each use Groco will be fine and it’s a physically smaller valve too.
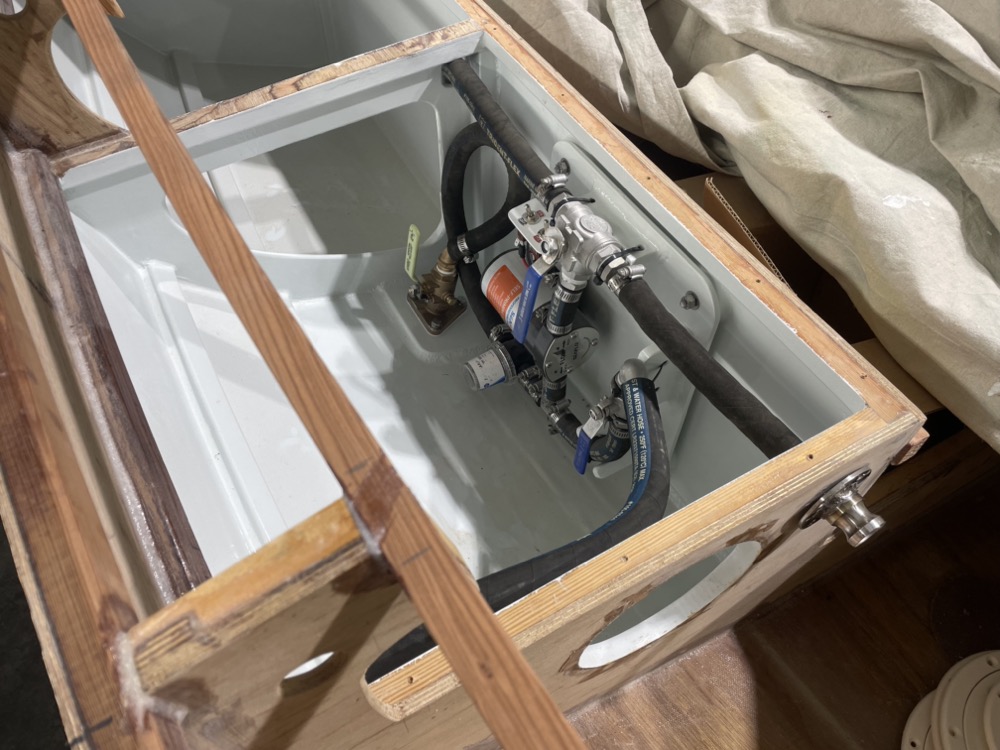
Seawater comes up through the seacock, through a strainer, up to the pump, then left to the ballast tank or right to a cam lock fitting. By changing some valves and reversing the pump I can suck from the ballast tank or a hose on the cam lock fitting and divert it out through a through hull.
I ran wiring and tested the plumbing system so I’ll feel confident glueing the seat top on. It won’t be fun to work on in the future, but everything is accessable. I once removed and replaced a frozen seacock completely by feel while shoulder deep through a shoebox size hatch under a nav station desk.
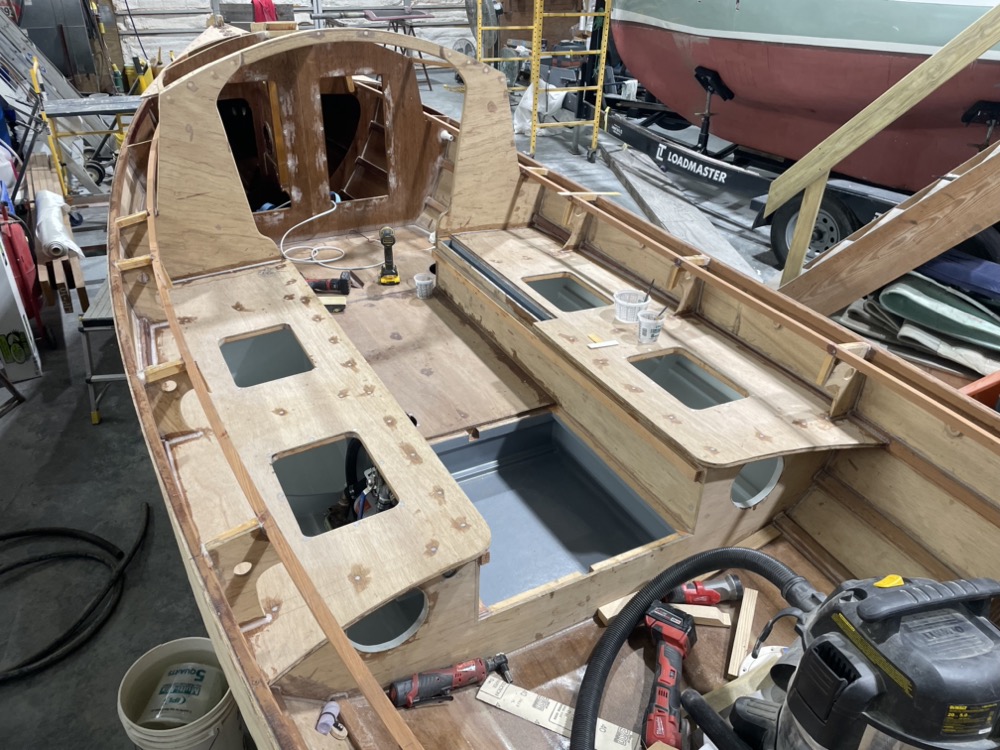
Here’s both seat tops installed. They’ve felt a little flimsy when dry fitting, but everything really stiffened up once they were epoxied down. Especially the back seam next to the hull.
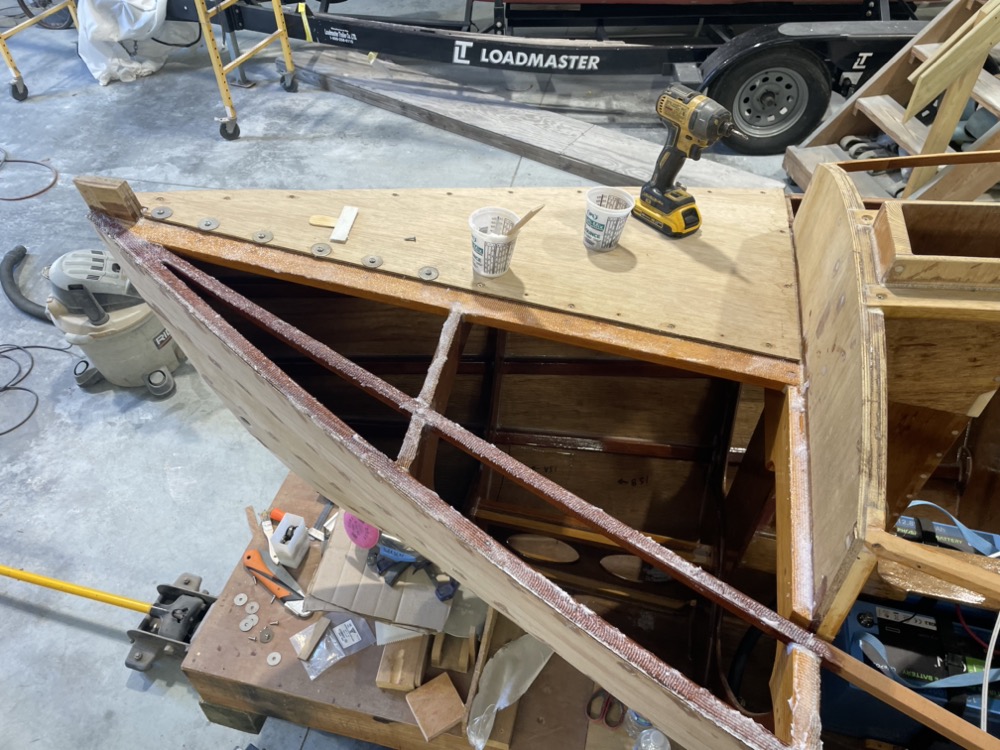
I also got the foredeck glued down after dry fitting and prepping the blanks with epoxy last weekend. The 1/4″ plywood will make the bend, but it really wants to lift the center seam and I needed fender washers to help hold it down. One piece might have worked better, but two pieces fit better on a sheet of plywood.
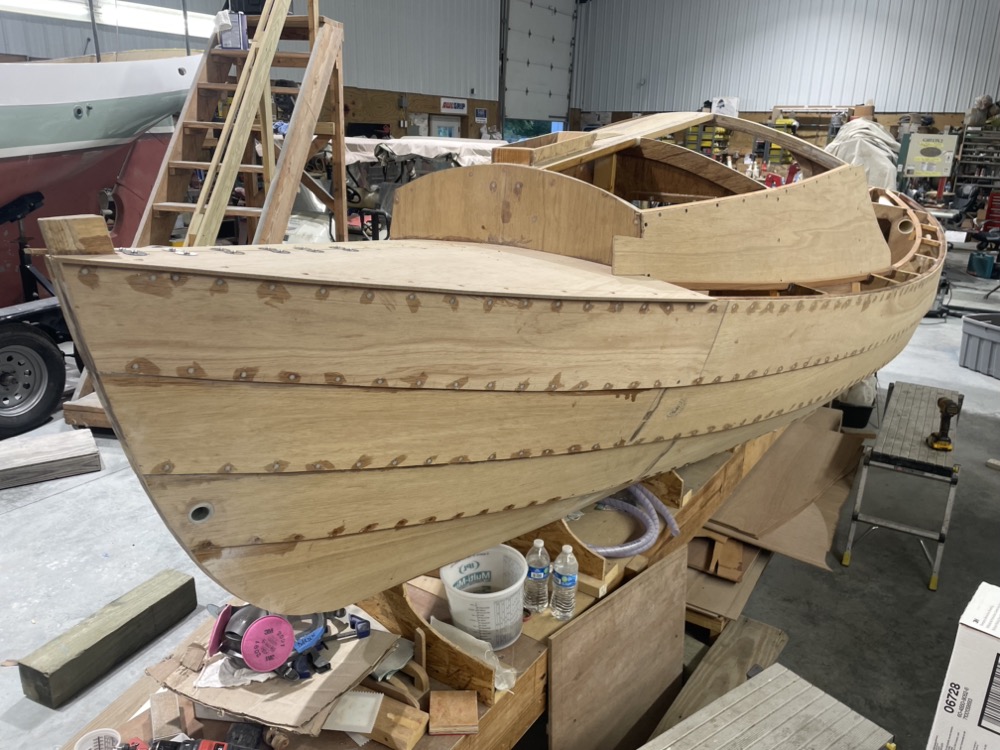
Next I started trimming the cabin side blank to fit over the deck and between the framing and deck carlin. I’ve gone back and forth on the decorative knee. Part of me wants to remove it since it will trap debris, but I think it really helps break up the slab sided front of the cabin. I think I’ll keep it and give it a generous limber hole.