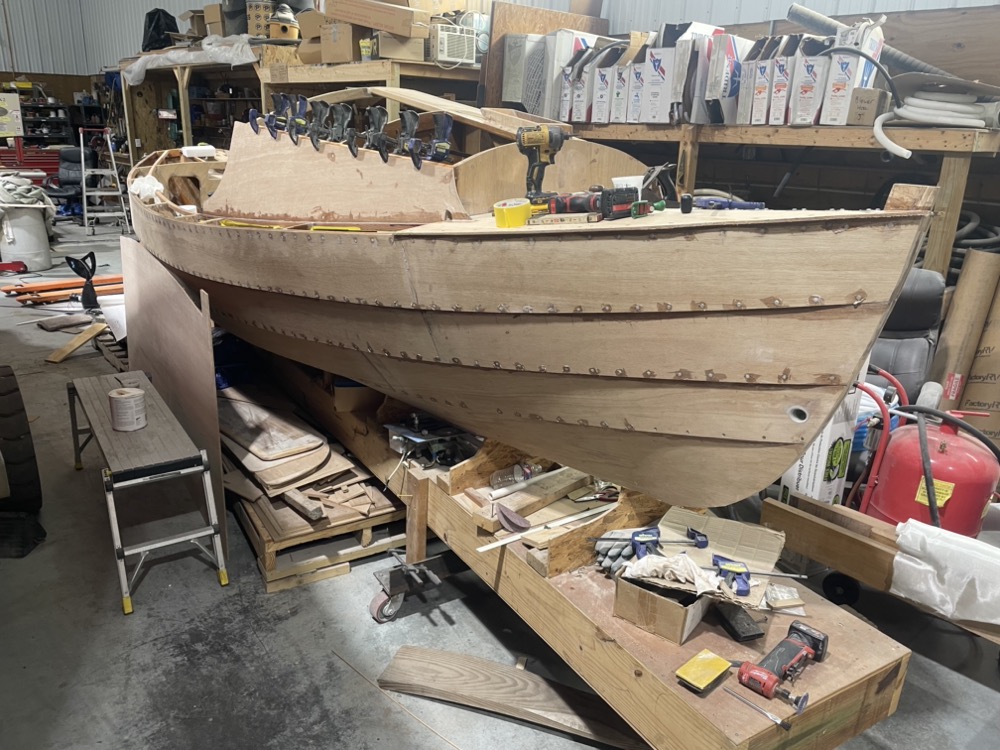
I’ve managed to get the starboard cabin side glued in and hopefully the dry fit port side will go in this week too. Things are starting to get a bit difficult to access, so I’ve got to make sure I get stuff coated while I can still reach it.
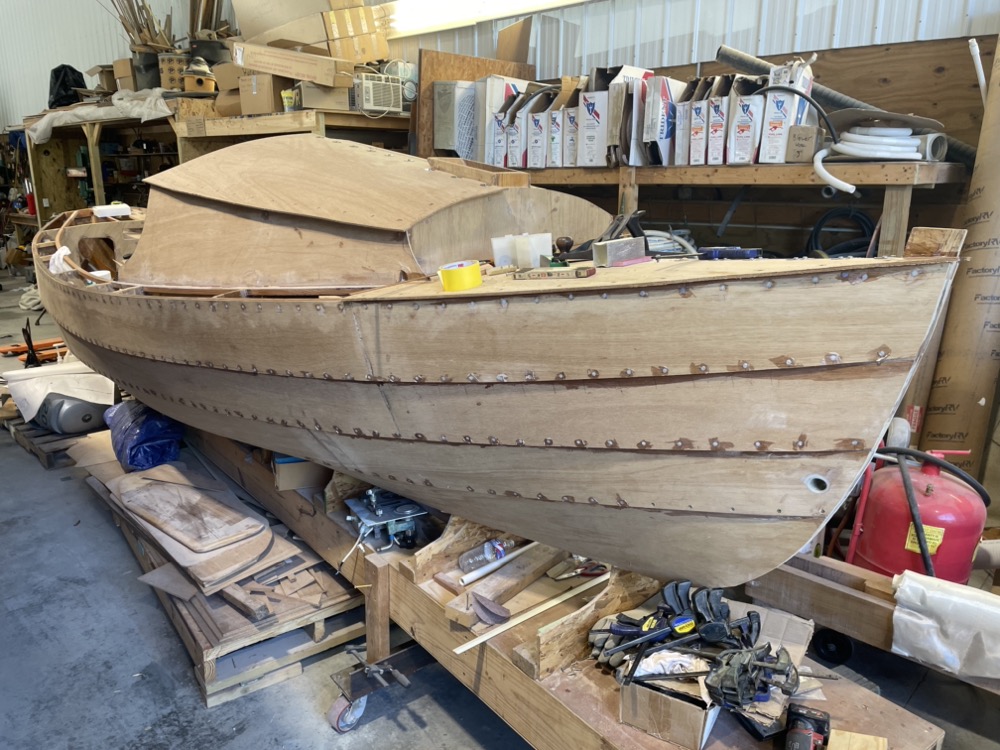
I also got the starboard roof roughed out and dry fit. The bend isn’t impossible for 1/4″ plywood, but it’s pretty stiff. I put lots of fender washers along the center seam and I’m going to leave it for a couple days to hopefully take a set. It really changes the feeling of sitting inside. I wondered how necessary the little cubbies are, but I think they’re important for a backrest. At the moment it’s a bit uncomfortable to sit sideways with just your shoulders against the cabin side.
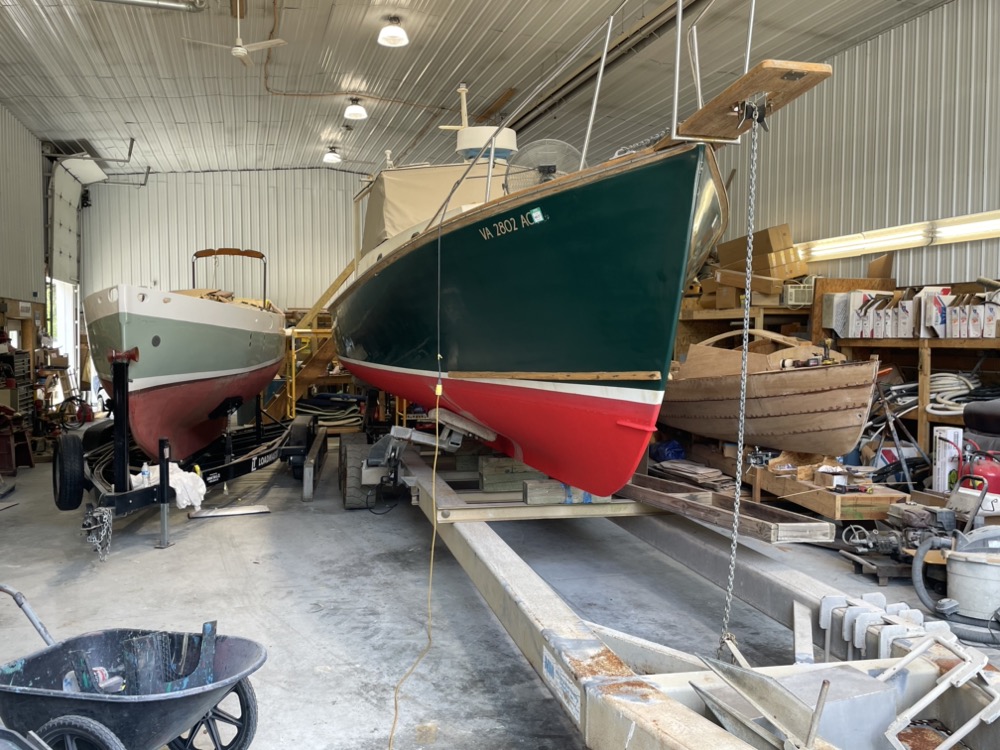
A lobster boat inspired Wasque 32 is in the shop for some varnish and paint, so space is getting crammed again. I thought the one off sailboat dwarfed mine despite being just a foot or two longer, but I think it’ll fit under this guy’s waterline.
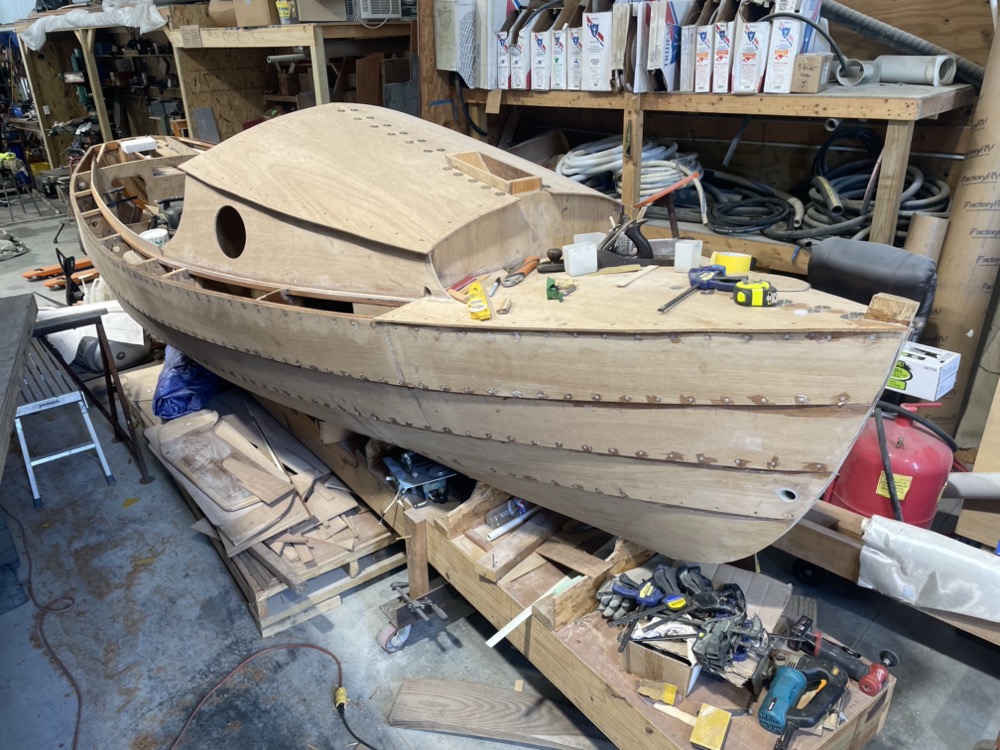
Next I got the port side cabin roof cut out and dry fit. The plan for the holiday weekend was to get the roof and aft deck glued down, but I decided not to try any big glue ups with the 95º degree weather. I also cut out one of the coamings and started experimenting with how it will attach to the cabin sides. The cabin slopes to the centerline while the coaming angles outboard. I’ve really been thinking about cutting some kerfs in the two pieces and bending the corners so they make one smooth transition.
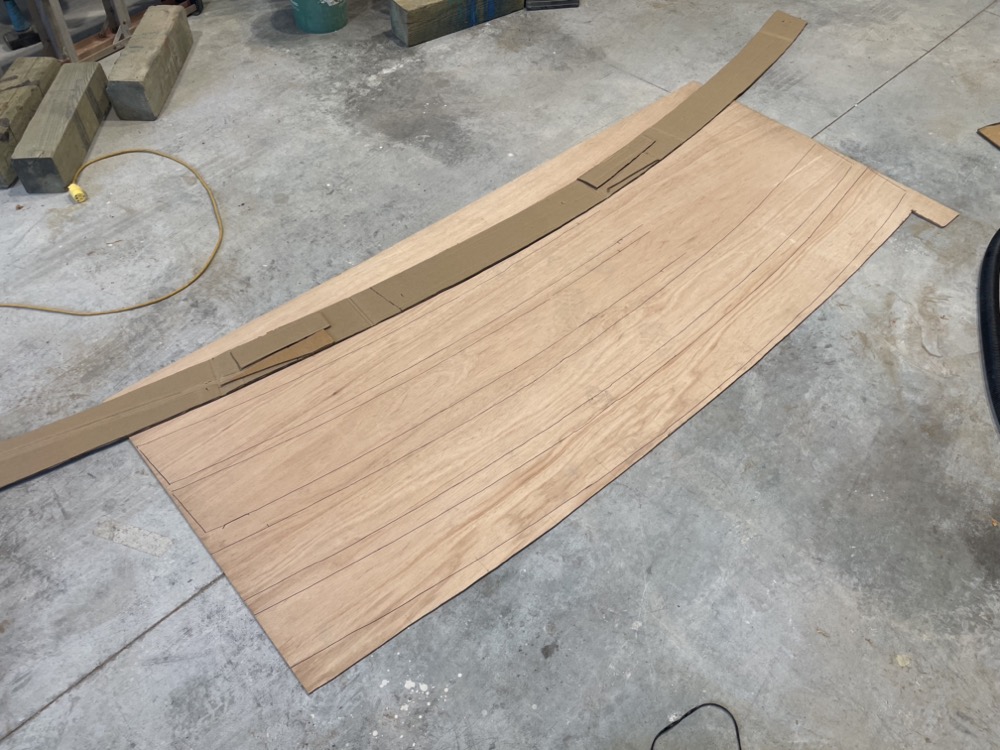
Then I made a cardboard template of the side decks which will need one scarf.
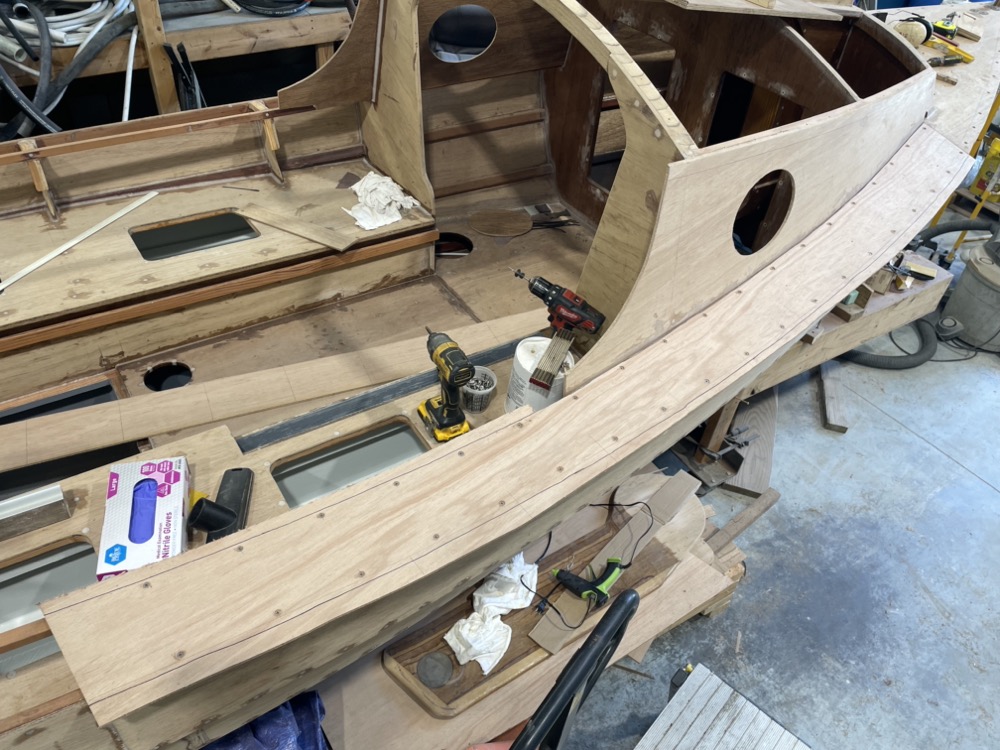
Dry fitting the forward section. The bit by the cabin side took some scribing and fine tuning to fit.
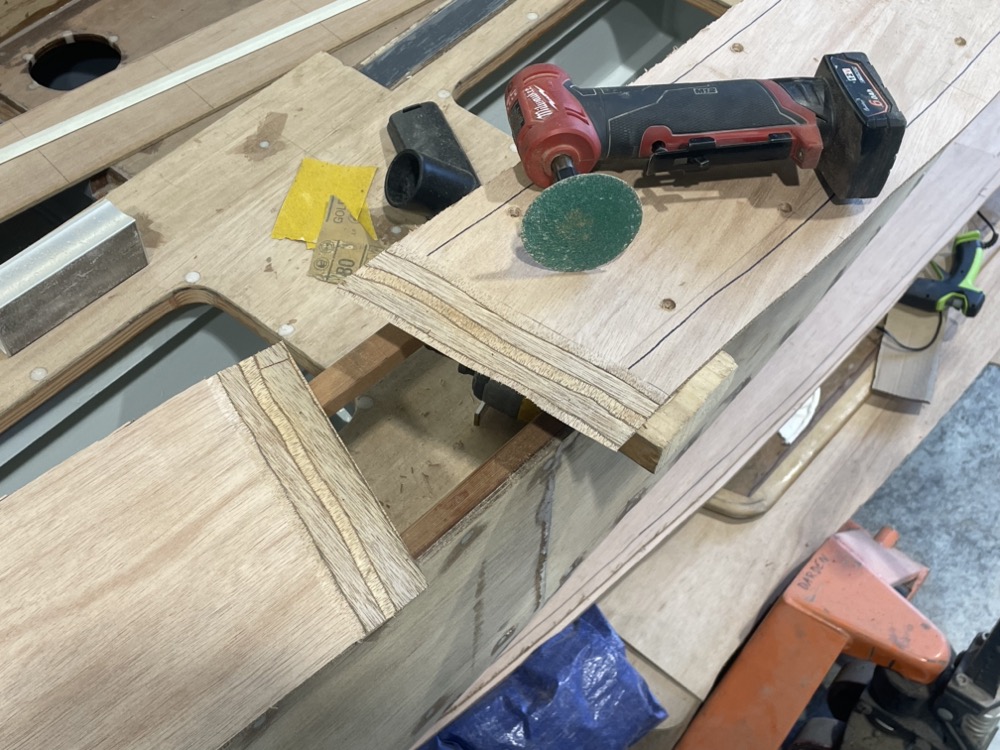
After laying out a line 2″ back from the joint a 36 grit roloc on a die grinder makes short work of cutting the scarf. Just make sure you cut on the top of one piece and the bottom of the other!
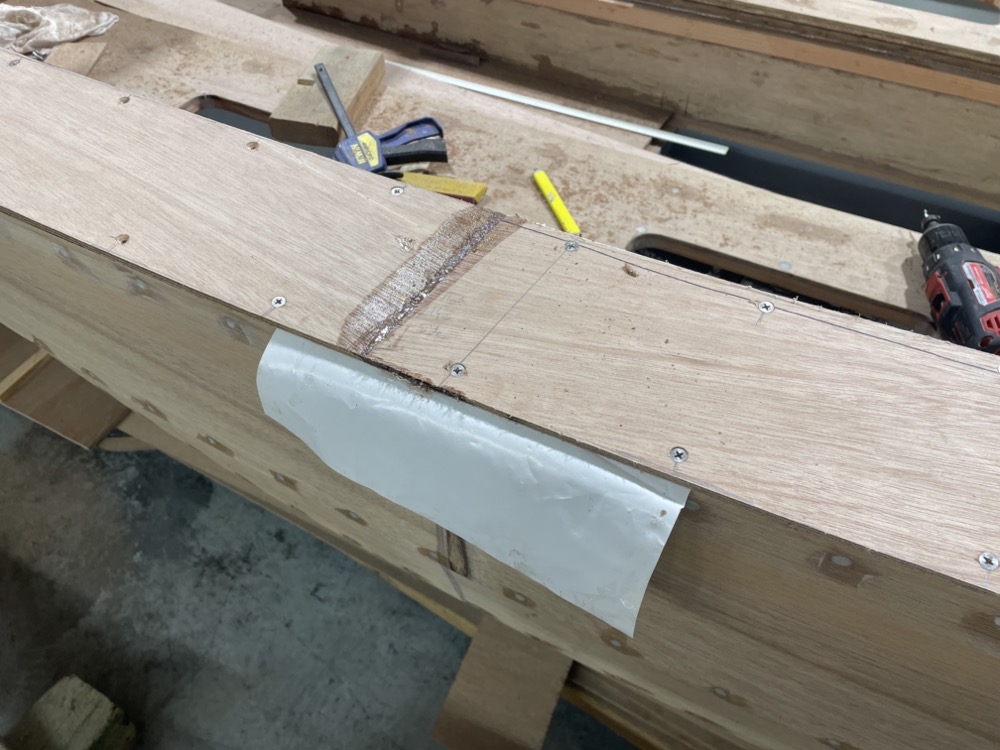
I tend to make the scarfs a tad hollow so theres room for the thickened epoxy. Plus I think it’s easier to fair up a slight depression than it is to longboard out two missmatched pieces.
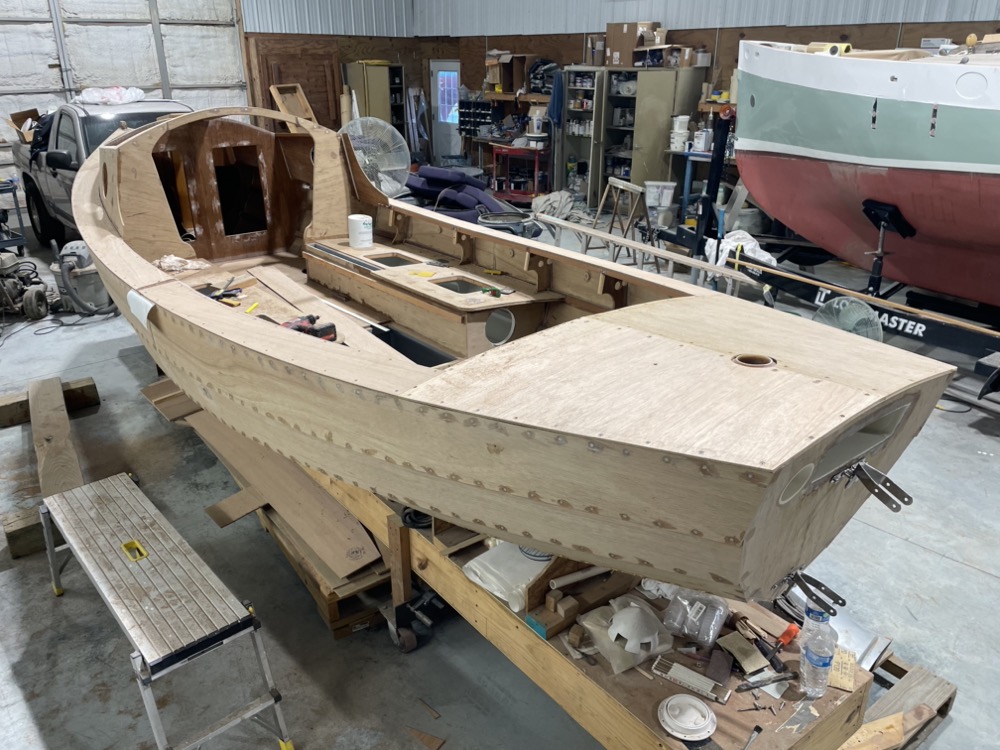
Both side decks are dry fit and joints glued. Then I took a router with a flush trim bit and cut off everything to the deck. It’s hard to believe, but other than the coamings and some cubbies the structural plywood work is more or less finished. Hard to see but I put three coats of Hatteras Off White EZPoxy in the tiller linkage tunnel in preparation for gluing the aft deck down. I think I’m going to go for that color for the inside to keep glare down. My current boat is definitely too bright.
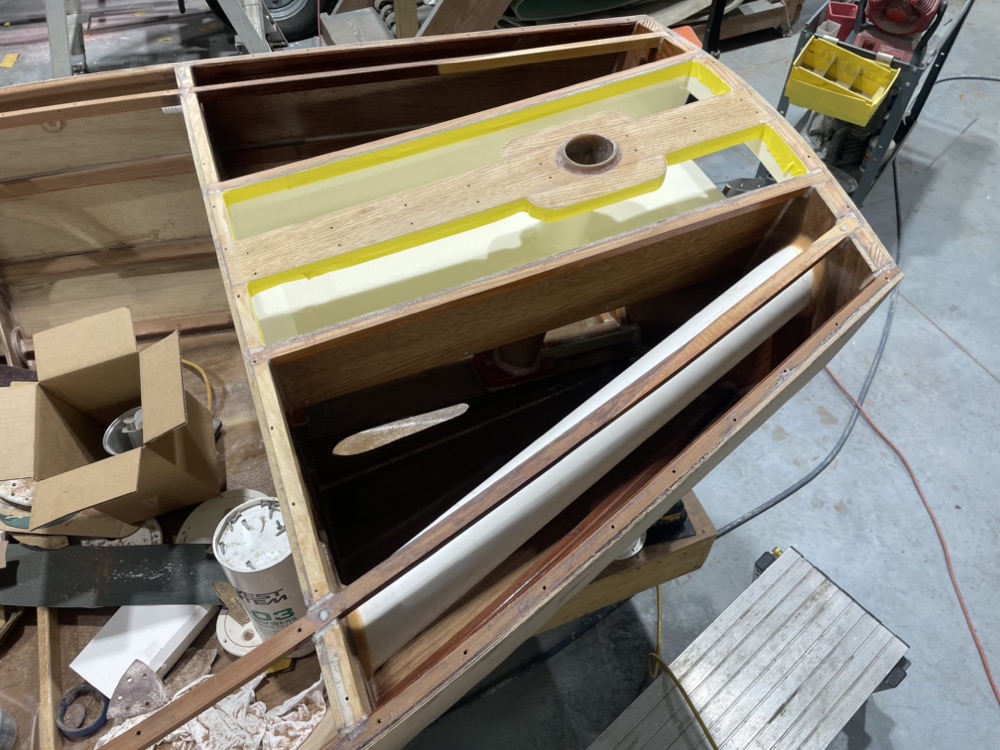
Recently I taped off the inside of the linkage tunnel and glued the two halves of the aft deck down. Looks like I didn’t take a picture of the completed job. I knew it was going to be a pain, but getting my arm in there to clean up the epoxy and remove the tape was a bear!
Hey Jeff, Paul here from New Zealand
I have really been enjoying your posts, as there is so little posted for the Long Steps, other than John Welsford’s initial posts and one or two other finished boats
I myself have just purchased a Scamp and a waiting for it to get trucked down, which is ideal for our southern hemisphere summer here
If this works for me, my plan is to look at a Long Steps in the next eighteen months
I realise the work involved but I do hope you can take time in your obviously busy schedule to carry on with posting progress reports, through to the finished article, and any other innovations to the plan you my make
Thanks again for what you’ve put up so and I can only imagine we’ll soon the the family cruising, cheers Paul
Hi Paul, glad you’re enjoying my posts. When I started the build there was really very little about the boat. Just pictures of NFRTT and John’s boat which was half finished at the time. It took me a lot of puzzling out how things fit together and my 3d CAD model was indispensable. I do plan to continue posting and I’m father along than these pictures. It’s just been an awful lot of fairing, filleting, and sanding lately. I’m hoping to get the inside of the top strake painted and the side decks glued on here in the next month. Good luck with your build if you decide to go for it! If you ever have any questions don’t hesitate to reach out!
Jeff